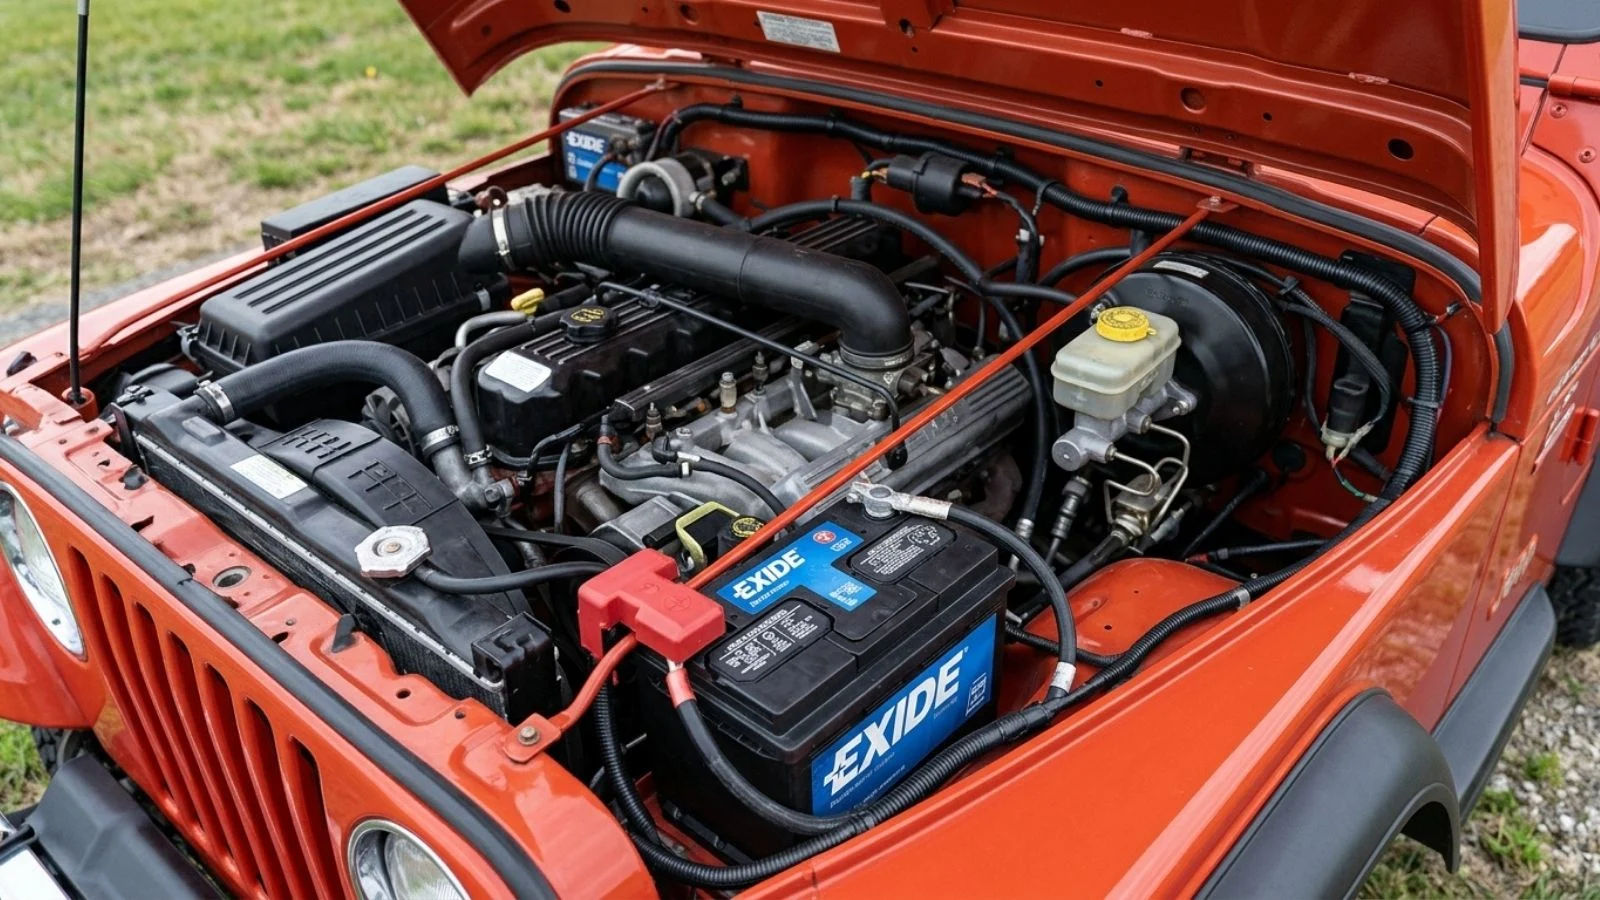
Jump-starting a dead battery gets all the attention but disconnecting the cables afterward is just as important and just as easy to get wrong.
Many drivers assume removal is simply the reverse of hooking everything up and while that’s mostly true skipping the correct order or rushing through the process can lead to sparks, damage to sensitive electronics or even a shock hazard.
The good news is that removing jumper cables safely only takes a few extra minutes once you know the right sequence.
If you’re the one who just jump-started your own car or you stopped to help a stranger on the side of the road following the proper steps protects both vehicles’ electrical systems and keeps you safe in the process.
In this guide we’ll walk through exactly how to remove jumper cables step by step plus mistakes to avoid and what to do once the cables are off.
Why Correct Removal Order Matters

It might seem like a small detail but the order in which you disconnect jumper cables can make a real difference in protecting both vehicles. When you jump-start a car you create a temporary electrical connection between two batteries and that connection carries real current. Disconnecting it carelessly or in the wrong sequence can cause problems that range from a minor inconvenience to costly repairs.
The biggest risk is short-circuiting. If a metal clamp accidentally touches another clamp or a metal surface while cables are still connected to a battery terminal it can create a spark. Since batteries release flammable hydrogen gas especially during charging a spark near the battery is a genuine safety hazard.
There’s also the issue of protecting your vehicle’s electronics. Modern cars are packed with sensitive components, the ECU sensors and infotainment systems that can be vulnerable to voltage spikes. Disconnecting cables in the wrong order increases the chance of a sudden surge that could damage these systems.
Finally, the correct removal order helps protect the battery that was just revived. Removing cables too abruptly or in the wrong sequence can put unnecessary strain on a battery that hasn’t yet had a chance to stabilize from the jump-start.
Before You Start Removing Cables

Before you touch a single clamp it’s important to confirm that the jump-start actually worked and that both vehicles are in a stable safe position. Rushing this step is one of the most common reasons people run into trouble afterward.
First make sure the previously dead vehicle has started and is running smoothly on its own. Give it a moment if the engine stalls or struggles as soon as you rev it slightly it may not be ready to run independently yet and disconnecting the cables too soon could leave you right back where you started.
Once the engine is running, let it idle for one to two minutes. This gives the alternator a chance to start recharging the battery and helps stabilize the electrical system before you disconnect the external power source entirely.
Next double-check that both vehicles are properly secured. Each car should be in park (for automatics) or neutral with the parking brake engaged (for manuals) with the engines not revving and no one pressing the accelerator. This prevents any unexpected movement while you’re leaning under the hood working with the cables.
Finally take a quick look at the cable clamps and battery terminals to make sure nothing is loose, twisted or at risk of slipping. A stable setup at this stage makes the actual removal process quick, predictable and safe.
Step-by-Step Removal Order

Once both vehicles are stable and the previously dead car is running smoothly it’s time to disconnect the cables. The key rule to remember is this: removal order is the reverse of the connection order and negative cables always come off before positive ones.
Step 1: Remove the negative (black) clamp from the previously dead vehicle.
Start here because this vehicle’s battery is now receiving charge from its own alternator making it the safest point to break the connection first.
Step 2: Remove the negative (black) clamp from the donor vehicle.
With both negative connections disconnected there’s no longer a completed circuit between the two batteries significantly reducing the risk of sparking.
Step 3: Remove the positive (red) clamp from the donor vehicle.
Since the negative side is already fully disconnected removing this clamp carries minimal risk of arcing.
Step 4: Remove the positive (red) clamp from the previously dead vehicle.
This is the final connection to disconnect completing the process.
As you remove each clamp be careful not to let it touch any metal surface the other clamp or your skin. Set each cable end aside safely before moving to the next step.
Common Mistakes to Avoid
Even though removing jumper cables is a straightforward process, a few common mistakes can turn a quick task into a risky one. Knowing what to avoid helps ensure everything goes smoothly.
Removing cables in the wrong order. The most frequent mistake is disconnecting the positive clamps before the negative ones. This increases the risk of sparking since the circuit is still fully active when you’re handling the positive terminals. Always stick to negative-first positive-last.
Letting clamps touch each other or metal surfaces. Once a clamp is removed it’s still capable of conducting electricity if it touches another clamp, a metal tool or part of the car’s frame. Set each clamp aside carefully keeping the metal ends away from anything conductive.
Turning off the working car too soon. Some drivers shut off the donor vehicle before the disconnection process is complete which can cause a sudden voltage change and potentially harm the electrical systems of both cars. Keep the donor vehicle running throughout the entire removal process.
Disconnecting before the dead car is confirmed running. If you remove the cables before verifying the previously dead vehicle can sustain its own charge you risk it stalling out again leaving you back at square one or worse in a more inconvenient location.
Avoiding these mistakes doesn’t take much extra effort but it makes a meaningful difference in protecting your vehicle and ensuring the process goes safely and successfully from start to finish.
What to Do After Removing the Cables
Once the cables are disconnected and safely put away there are a few important steps to take before you consider the job finished.
Coil and store the cables properly. Avoid just tossing them in the trunk in a tangled pile. Coiling them neatly prevents damage to the internal wiring and makes them easier to use next time. Many drivers keep them in a bag or case to protect the clamps from corrosion and dirt.
Keep the jump-started car running for at least 20–30 minutes. A jump-start gets the engine going but it doesn’t fully recharge the battery. Driving the car ideally at higher speeds on a longer route rather than idling in a driveway allows the alternator to restore a meaningful amount of charge.
Avoid shutting the engine off right away. If you turn the car off shortly after removing the cables there’s a chance it won’t start again on its own, especially if the battery is significantly depleted.
Consider having the battery tested. If the battery died unexpectedly or you’ve had to jump-start the same vehicle more than once recently it’s worth having it tested at an auto shop or parts store. This can reveal whether the battery is simply old and needs replacing or if there’s an underlying issue like a parasitic drain or a failing alternator.
Safety Tips & Precautions
Jump-starting and disconnecting a battery involves handling live electrical connections so a few safety precautions go a long way in preventing accidents or injury.
Wear gloves and eye protection. Battery acid and corrosion can be present on terminals and clamps and gloves help protect your skin from both electrical contact and chemical exposure. Safety glasses protect your eyes in the unlikely event of a spark or battery vent.
Avoid smoking or open flames near the battery. Batteries release hydrogen gas particularly during and after charging and this gas is highly flammable. Never smoke, use a lighter or work near an open flame while cables are connected or being removed.
Work in a well-ventilated area when possible. If you’re jump-starting a car in a garage, keep the door open to allow any built-up gas to dissipate rather than accumulate in an enclosed space.
Be cautious of corroded terminals. If a terminal is heavily corroded the clamp may not have made solid contact increasing resistance and heat. Handle these connections carefully and consider cleaning corrosion before future jump-starts.
If you notice sparks, smoke or a burning smell, disconnect immediately and step back. These are signs that something is wrong with the connection or a component in one of the vehicles and continuing could pose a safety risk. Give things time to cool and inspect before attempting the process again.
Troubleshooting
Even when you follow every step correctly you may run into a few issues after removing the jumper cables. Here’s how to handle the most common ones.
The car won’t stay running after the jump. If the previously dead vehicle starts but then stalls shortly after the cables are removed the battery likely didn’t have enough time to stabilize or it’s too depleted to hold a charge on its own. Try jump-starting again and letting the engine idle longer five minutes or more before disconnecting.
The battery dies again quickly. If the same vehicle needs another jump-start within a day or two this usually points to a deeper issue rather than a one-time fluke. A battery that won’t hold a charge may be old or failing but a rapid repeat failure can also signal a bad alternator which isn’t recharging the battery while you drive.
Clamps are corroded or stuck. Over time jumper cable clamps can develop corrosion especially if stored improperly. If a clamp feels stuck or doesn’t grip, terminals firmly clean the contact surfaces with a wire brush and check the clamp’s spring tension. Replacing badly corroded cables is often safer than continuing to use them.
Sparks or unusual smells during removal. This typically means a connection was accidentally made between clamps or terminals during the process. Stop immediately, separate the cables and re-check that everything is disconnected before restarting the process.
Frequently Asked Questions
Does it matter which cable I remove first?
Yes. Always remove the negative (black) clamps before the positive (red) ones. Start with the negative clamp on the previously dead vehicle then the negative clamp on the donor vehicle followed by the positive clamps in the same order. This sequence minimizes the risk of sparking.
Can I remove the cables while the engine is off?
No. The previously dead vehicle should be running before you disconnect any cables. Removing them while the engine is off means the vehicle hasn’t confirmed it can sustain its own charge and you risk it stalling out immediately.
How long should I keep the cars connected before removing cables?
A general guideline is one to two minutes of idling once the dead vehicle starts, though longer is better if the battery is significantly drained. This gives the alternator time to begin recharging the battery before the external power source is removed.
Is it safe to touch the clamps together after removal?
No. Even after being disconnected from the battery terminals clamps can still carry residual charge or create a spark if they touch each other or a metal surface. Always set them aside separately and avoid letting the metal ends make contact.
What if my car won’t start again after removing the cables?
This usually means the battery didn’t have enough time to charge or there’s an underlying issue like a failing alternator. Try jump-starting again with a longer idle time and consider having the battery and charging system tested.
Conclusion
Removing jumper cables safely is a simple process once you understand the correct order and the reasoning behind it.
While connecting the cables often gets the most attention, disconnecting them properly is just as important for protecting both vehicles and keeping yourself safe in the process.
To recap, the correct removal order is: negative clamp from the previously dead vehicle, negative clamp from the donor vehicle, positive clamp from the donor vehicle and finally positive clamp from the previously dead vehicle.
This sequence negative first positive last dead car before the donor car minimizes the risk of sparks and protects sensitive electrical components in both cars.
Beyond the removal steps themselves, taking a few extra precautions makes a real difference. Confirming the previously dead vehicle is running smoothly letting it idle before disconnecting wearing protective gear and keeping cables away from metal surfaces during removal all contribute to a safer smoother experience.
And once the cables are off driving the car for at least 20–30 minutes helps ensure the battery actually recharges rather than leaving you stranded again shortly after.