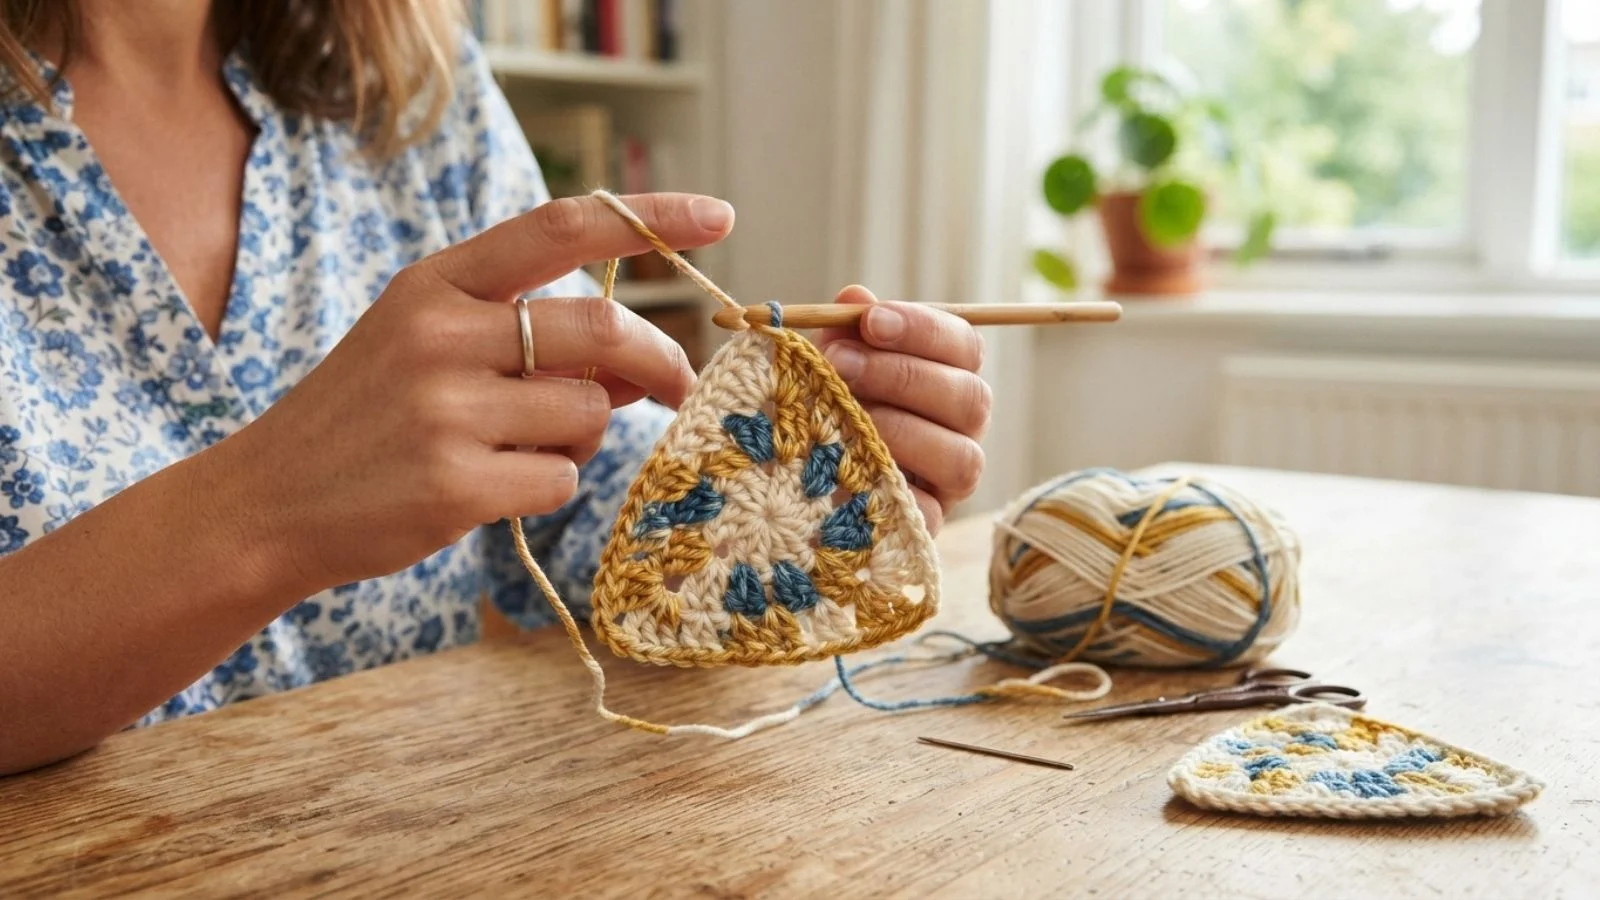
If you’ve ever looked at a granny-square blanket, a cozy shawl, or a string of bunting flags and wondered how crocheters get those clean, angled edges, the answer almost always comes down to one simple shape: the triangle.
Despite looking like an advanced technique, a crocheted triangle is really just a variation on basic stitching: you’re either adding stitches to widen a row, subtracting stitches to narrow it, or working outward from a central point.
Once you understand these three approaches, you can crochet a triangle in any size, in any stitch, using any yarn you already have on hand.
In this guide, we’ll walk through every method for crocheting a triangle, from the classic increase and decrease techniques to the center-out mitered approach favored for symmetrical motifs.
We’ll also cover gauge, sizing, common mistakes, and finishing touches, so by the end you’ll be able to build triangles into shawls, bunting, coasters, and more.
Types of Crochet Triangles
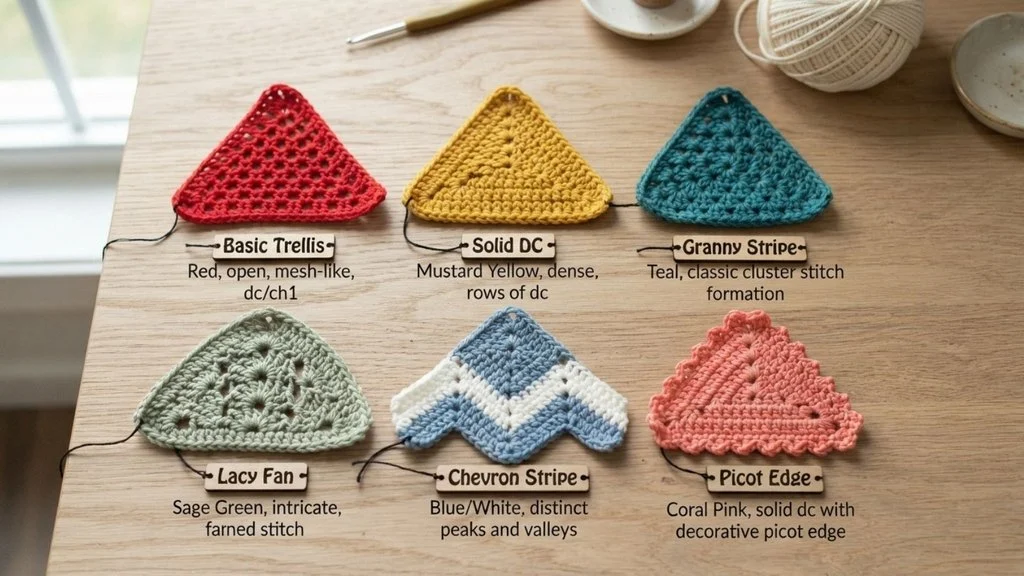
Before picking up your hook, it helps to know that not all crochet triangles are built the same way. The method you choose will shape how your final piece looks, drapes, and functions, so it’s worth understanding the main categories first.
The point-up (increase) triangle starts with just a stitch or two and grows wider with each row by adding stitches to both edges. It finishes with a wide, flat top and a single point at the bottom of your working direction, though when worn or displayed, that point typically ends up at the top or center. This is the most common method for triangular shawls, since the increasing sides naturally form the wrap-around edges.
The point-down (decrease) triangle works in reverse: you begin with a wide chain and decrease stitches on both edges until you’re left with a single stitch at the tip. This method is a favorite for bunting flags, pennants, and appliqués, where a crisp, narrowing point is the whole point of the shape.
The center-out triangle takes a completely different approach, starting at the center point and working outward in rounds or diagonal rows, similar to how a granny square is constructed. This method produces a very symmetrical triangle and is often used for mitered motifs or mandala-style pieces.
Beyond the construction method, triangles can also vary geometrically isosceles (two equal sides, most common for shawls), equilateral (all sides equal, common in motifs), or right-angle (one 90-degree corner, useful for garment gussets and corner pieces).
Materials & Tools
Crocheting a triangle doesn’t require any specialized equipment beyond your standard crochet kit, but a few thoughtful choices will make the process smoother and the finished shape more polished.
Yarn weight is your biggest style decision. A lightweight yarn like fingering or sport weight produces soft, drapey triangles ideal for shawls and wraps, since the fabric flows rather than holds a stiff shape. A worsted or bulky weight yarn, on the other hand, creates a sturdier, more structured triangle better suited to appliqués, coasters, or bunting flags that need to hold their form.
Hook size should be matched to your yarn weight, typically following the recommendation on the yarn label. As a general guideline, fingering weight pairs well with a D–E hook (3–3.5mm), worsted weight with an H–I hook (5–5.5mm), and bulky weight with a K hook (6.5mm) or larger. Sizing up slightly from the label’s suggestion can also create a looser, more open fabric, which is often desirable for lacy shawls.
Beyond yarn and hook, a small set of notions will make triangle construction far easier:
- Stitch markers to flag your first and last stitch of each row, so increases or decreases don’t get missed
- A yarn needle for weaving in ends along angled edges
- Blocking mats and pins to shape and flatten your finished triangle, especially important since angled pieces tend to curl more than squares or rectangles
- A tape measure or ruler if you’re working toward a specific finished size
With materials sorted, you’re ready to start building the actual stitches.
Stitch Selection & How It Changes the Result
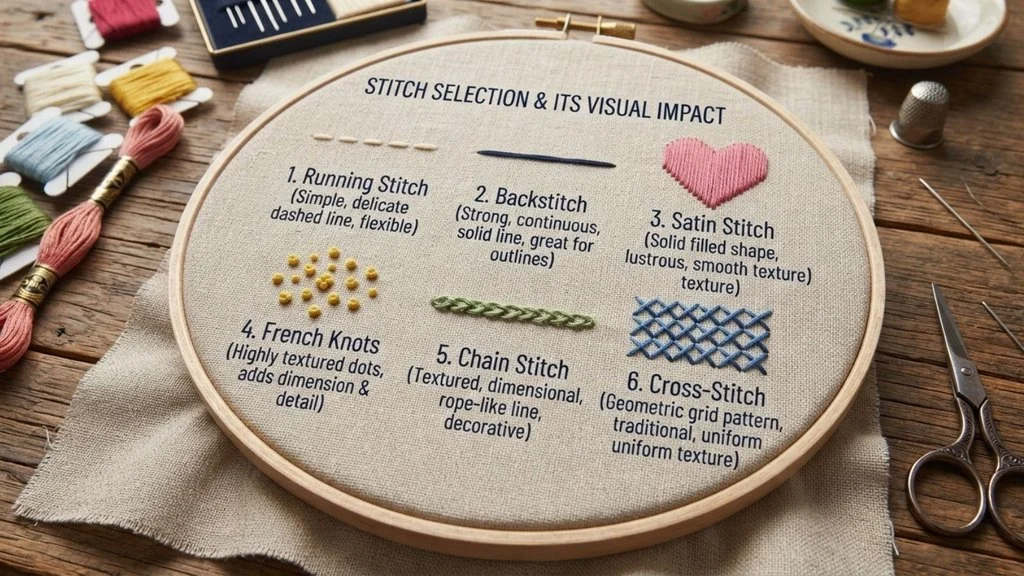
The stitch you choose has just as much impact on your finished triangle as the yarn or hook you pick, since different stitches affect density, drape, speed, and overall texture.
Single crochet produces the densest, sturdiest fabric of the common stitch choices. Because the stitches are short and tightly packed, single crochet triangles hold their shape well without much curling, making this stitch a great choice for coasters, appliqués, and bunting flags that need to stay flat and structured.
Half double crochet and double crochet work up noticeably faster than single crochet, since each stitch is taller. They also create a softer, more open fabric with better drape, which is why these taller stitches are frequently used for shawls and wrapping the extra movement in the fabric lets the triangle fall naturally over the shoulders rather than sitting stiffly.
Filet mesh triangles use a repeating pattern of chains and double crochets to create an open, grid-like lace fabric. This technique is especially popular for delicate, airy shawls, since the mesh is lightweight and can be combined with simple charted designs for added visual interest.
Granny-stitch triangles rely on clusters of double crochet stitches separated by chain spaces, similar to a traditional granny square. This approach works up quickly, uses less yarn tension control than solid stitches, and produces a textured, slightly nostalgic look that’s common in blanket panels and boho-style shawls.
Increase Triangle (Point-Up)
The increased triangle is the most beginner-friendly method and the go-to technique for triangular shawls, since it naturally builds a wide top edge with two sloped sides.
Starting the chain: Make a slip knot and chain 3. This small starting chain will become the tip of your triangle.
Row 1: Single crochet into the 2nd chain from the hook, then single crochet into the last chain. You should now have 2 stitches total.
Row 2 (the increased row): Chain 1 and turn your work. Work 2 single crochet stitches into the very first stitch, single crochet as normal into any middle stitches, then work 2 single crochet stitches into the last stitch. This adds one stitch to each edge, for a total gain of 2 stitches per row.
Repeat Row 2 for every subsequent row, always increasing at the beginning and end, until your triangle reaches the width or size you want.
Placement matters: Some patterns increase on every row for a narrower, steeper triangle, while others increase every other row for a wider, flatter angle adjust based on the shape you’re after.
Finishing: Once you’ve reached your desired size, fasten off and weave in the ends along the angled edges.
This method works equally well with taller stitches like half double or double crochet; simply substitute the stitch type in Row 1 and Row 2 while keeping the same increase placement. The result is a solid, single-point triangle with a straight top edge perfect as the foundation for a wrap-style shawl or a filled-in appliqué.
Decrease Triangle (Point-Down)
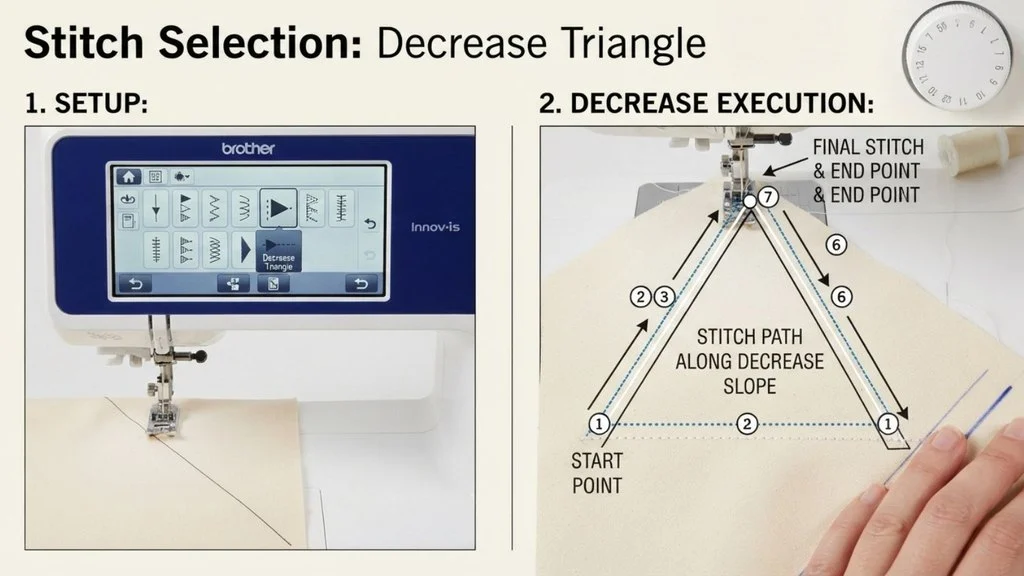
The decreasing triangle flips the construction of Method 1: instead of growing from a point, you start wide and narrow down to a single stitch. This makes it the preferred technique for bunting flags, pennants, and appliqués where a crisp downward point is the defining feature.
Starting the chain: Chain the width you want your triangle’s top edge to measure, plus one extra chain for turning. For example, if you want a 6-stitch-wide top, chain 7.
Row 1: Single crochet into the 2nd chain from the hook and in each chain across. This establishes your full starting width.
Row 2 (the decrease row): Chain 1 and turn. At the very start of the row, work a single crochet 2 stitches together (sc2tog): insert your hook into the next stitch, yarn over, pull up a loop, insert the hook into the following stitch, yarn over, and pull through all three loops on your hook. Single crochet normally across the middle stitches, then work another sc2tog at the end of the row.
Repeat Row 2 on every row, losing 2 stitches per row, until only 1–2 stitches remain at the tip.
Finishing: Fasten off, leaving a tail if you plan to sew or string the triangle onto a bunting cord or attach it to another project.
Tension tip:
Because decreases pull stitches tighter, keeping an eye on your gauge decrease rows can cause edges to pull inward more than expected if your tension is too tight. Working your sc2tog stitches slightly looser can help keep the edges straight rather than curved.
Center-Out / Mitered Triangle
Unlike the row-by-row methods above, the center-out triangle begins at a single central point and expands outward in rounds or diagonal rows, similar to how a traditional granny square is constructed. This technique produces a highly symmetrical shape and is a favorite for mitered motifs, mandala-style pieces, and triangle blocks meant to be joined into larger projects.
Starting the round: Make a magic ring or chain a small foundation ring (typically 4–6 chains joined with a slip stitch). Work your first round of stitches into the ring, placing three “corner” increase points evenly around it; this is what will eventually shape the triangle’s three corners.
Building outward: On each subsequent round, work straight across the sides as normal, but at each of the three corner points, work an increase (commonly 3 double crochet stitches, or a chain-space “corner” made of a double crochet, chain 2, double crochet). These corner increases are what keep the triangle’s proportions accurate as it grows; skipping or misplacing them will distort the shape into something closer to a hexagon or an uneven blob.
Repeat this pattern straight sides, corner increases round after round, until you reach your desired size.
Finishing: Fasten off at the end of a round for the cleanest edge, then weave in ends along the wrong side.
This method takes slightly more concentration than the row-based approaches since you’re tracking three corners instead of two edges, but it rewards you with a triangle that has virtually identical sides and angles ideal for pieces where symmetry matters most.
Calculating Size & Gauge
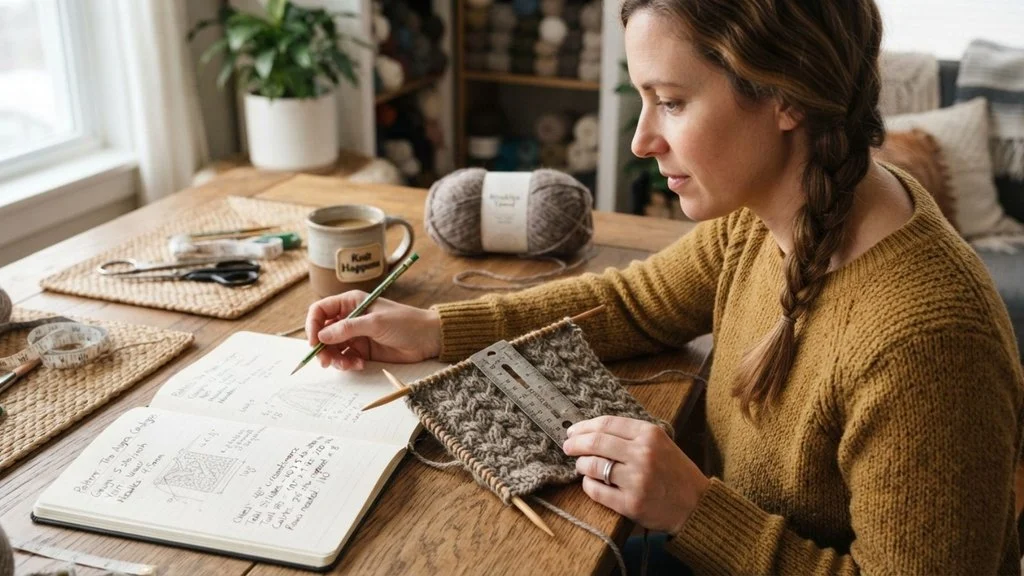
Getting your triangle to come out the exact size you want isn’t guesswork; it comes down to understanding your gauge and how your increase or decrease rate affects the final angle.
Swatching first: Before starting your actual project, work a small test swatch in your chosen stitch, yarn, and hook. Measure how many stitches and rows fit into a 4-inch square. This gauge measurement is the foundation for predicting your triangle’s final dimensions.
Using gauge to plan size: Once you know your stitch and row gauge, you can estimate how many rows it will take to reach a target height, and how wide your starting chain (or final row) needs to be to reach a target base width. For example, if your gauge is 4 stitches and 4 rows per inch, and you want a triangle with a 20-inch base, your starting chain for a decreasing triangle would need roughly 80 stitches.
Controlling the angle: The rate at which you increase or decrease directly controls how “pointy” or “wide” your triangle looks. Increasing or decreasing by 2 stitches every row (one at the start, one at the end) produces a moderate, roughly 90-degree point. Increasing every other row instead creates a wider, flatter triangle, while increasing on every row using taller stitches like double crochet produces a steeper, narrower point.
Adjusting mid-project: If your swatch and gauge don’t match your actual project tension, don’t be afraid to recheck row counts partway through and adjust your increase/decrease rate rather than restarting from scratch.
Troubleshooting Common Problems
Even experienced crocheters run into shape issues when working triangles, since angled edges are less forgiving of small mistakes than straight ones. Here are the most common problems and how to fix them.
Wavy or curling edges: This usually happens when your increase or decrease rate doesn’t match your stitch height. If your edges ripple outward, you’re increasing too fast for your stitch type; if they curl inward, you’re decreasing too aggressively or increasing too slowly. Try adjusting to an increase/decrease every other row instead of every row, or switch to a shorter stitch.
Uneven sides: If one side of your triangle is longer or more angled than the other, it’s almost always a miscounted increase or decrease on one edge. Counting your stitches at the end of every row not just occasionally is the most reliable way to catch this early, before several rows compound the error.
Triangle too “fat” or too “skinny”: A triangle that comes out wider and shorter than expected usually means your increase rate is too aggressive relative to your row height. A too-narrow, elongated triangle means the opposite. Adjusting the increase rate (every row vs. every other row) is the fix, as covered in the gauge section.
Off-center point: In center-out triangles, an off-center point almost always traces back to uneven corner increases to check that all three corners are receiving the same increase treatment every round.
Finishing Techniques
A well-constructed triangle can still look unfinished without the right final touches. These last steps are what give your project a clean, professional appearance.
Weaving in ends on angled edges: Angled edges make end-weaving trickier than straight ones, since there’s less consistent fabric to hide a tail in. Weave ends along the diagonal edge rather than straight across, following the natural slant of the stitches for a few inches in one direction, then doubling back in the opposite direction to lock the tail securely without it showing through.
Adding a border or edging: A simple border can visually straighten a triangle’s edges and add a polished finish. A single row of single crochet is the simplest option and helps stabilize any curling. For decorative pieces like shawls, a picot edge or shell stitch border adds texture and visual interest along the sloped sides, while bunting flags often benefit from a sturdy sc border since it will be handled and strung repeatedly.
Blocking your triangle: Triangles tend to curl or warp more than squares and rectangles because of their angled construction, making blocking especially important. Wet blocking soaking the piece, gently squeezing out excess water, and pinning it into shape on a flat mat works well for natural fibers like wool or cotton. Steam blocking, where you hover a steamer over pinned pieces without fully soaking them, is a faster option and works well for most acrylic and blended yarns. Let the piece dry completely before unpinning to lock in the shape.
Project Ideas Using Crochet Triangles
Once you’ve mastered the basic construction methods, triangles open the door to a wide range of projects from wearable pieces to home decor and quick gift-worthy items.
Triangle shawls and wraps: The increase method is the classic foundation for shawls. Starting from a point and growing outward creates the wide, draping shape that wraps comfortably around the shoulders. Lightweight yarns and taller stitches like double crochet or filet mesh work especially well here, giving the fabric enough movement to fall naturally.
Bunting and pennant banners: The decrease method shines for bunting flags, where a sturdy, well-defined point matters more than drape. A single crochet in a worsted weight yarn holds its shape nicely when strung together for party decorations or nursery decor.
Coasters and appliqués: Small, dense triangles made with single crochet make excellent coasters or decorative appliqués that can be sewn onto bags, pillows, or clothing. Their compact size also makes them a great way to practice increase and decrease techniques without a large time investment.
Triangle granny blanket panels: The center-out method is a natural fit for blanket-making, since triangle motifs can be joined edge-to-edge to form larger geometric patterns, offering a fresh alternative to the traditional granny square layout.
Earrings and small motifs: Tiny triangles worked in fine-weight yarn or embroidery thread, stiffened with starch or fabric stiffener, can be turned into lightweight earrings or embellishments, a fun, low-commitment way to experiment with different stitch textures.
Quick-Reference Cheat Sheet
For a fast refresher without rereading the full guide, use this cheat sheet to quickly recall which method and stitch fit your project.
Method comparison:
| Method | Starting Point | Ending Point | Best For |
| Increase Triangle | Narrow point | Wide flat edge | Shawls, wraps |
| Decrease Triangle | Wide flat edge | Narrow point | Bunting, appliqués, pennants |
| Center-Out (Mitered) | Center point | Symmetrical outer edge | Motifs, blanket panels, mandalas |
Stitch selection at a glance:
- Single crochet (sc): Dense, sturdy, minimal drape best for coasters, appliqués, bunting
- Half double crochet (hdc): Medium density, faster than sc, moderate drape
- Double crochet (dc): Tall, open, drapey best for shawls and wraps
- Filet mesh: Chain-and-dc grid best for lacy, lightweight shawls
- Granny stitch: Clustered dc groups best for textured, boho-style pieces
Stitch abbreviation glossary:
- ch chain
- sc single crochet
- hdc half double crochet
- dc double crochet
- sc2tog single crochet 2 stitches together (decrease)
- dc2tog double crochet 2 stitches together (decrease)
- sl st slip stitch
Increase/decrease rate cheat sheet:
- Every row = steeper, narrower point
- Every other row = wider, flatter triangle
- 2 stitches per increase/decrease row = standard ~90° point
Quick troubleshooting reminders:
- Wavy edges → slow down your increase rate or switch stitches
- Curling edges → block after finishing
- Uneven sides → recount stitches every row, not occasionally
Keep this table handy while working, especially when switching between projects that use different triangle methods.
FAQ Section
Can you crochet a triangle in the round?
Yes this is the center-out (mitered) method covered earlier. Instead of working back and forth in rows, you start at a central point and work outward in rounds, placing increases at three evenly spaced corner points. This approach produces a highly symmetrical triangle and is commonly used for motifs and blanket panels rather than shawls.
What’s the easiest triangle method for beginners?
The increase triangle (Method 1) is generally considered the most beginner-friendly. It starts with just a few stitches, uses a simple and consistent increase pattern on both edges, and doesn’t require managing multiple corners like the center-out method or careful tension control like decrease-heavy projects.
How do I make a right-angle triangle instead of isosceles?
To create a right-angle triangle, only increase or decrease on one edge instead of both. Keep the opposite edge straight by working an even number of stitches with no increases or decreases on that side. This produces one 90-degree corner instead of the symmetrical point created when both edges increase or decrease evenly.
Can I turn a triangle into a shawl pattern?
The increased triangle is essentially the foundation of most triangular shawl patterns. Once you’re comfortable with the basic increase technique, you can add stitch pattern variety (like filet mesh or lace repeats), incorporate color changes, or add a decorative border to transform a simple triangle into a full wearable shawl.
Conclusion
Crocheting a triangle might look intimidating at first, but as you’ve seen throughout this guide, it really comes down to three core techniques: increasing stitches to build outward from a point, decreasing stitches to narrow down to one, or working outward from a centre point in rounds.
Once you understand how these methods work and how your stitch choice, yarn weight, and increase/decrease rate affect the final shape you have everything you need to crochet a triangle in virtually any size, texture, or style.
The beauty of mastering this single shape is how far it extends into other projects the same increase technique that starts a shawl also forms the basis of countless wrap patterns.
The same decrease method used for a bunting flag works just as well for appliqués and pennants. And the center-out approach opens the door to motifs, mandalas, and blanket panels built entirely from joined triangles.