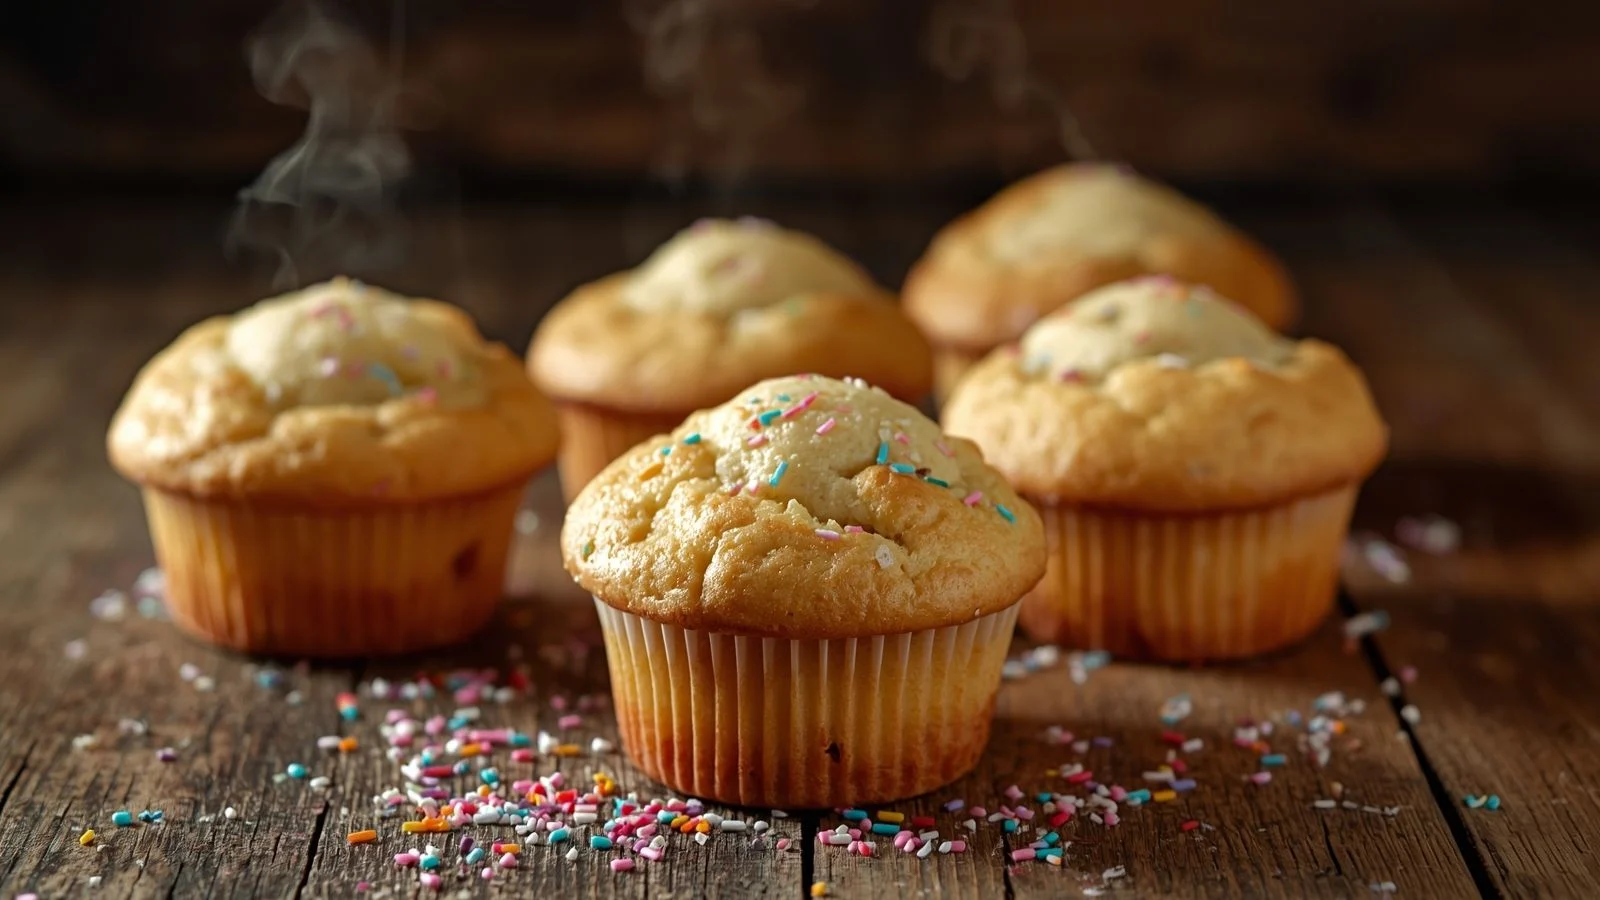
There’s nothing quite as disappointing as biting into a muffin that turns out dense, dry or flat when you were hoping for a light tender crumb that practically melts in your mouth.
The good news? Making bakery-style fluffy muffins at home isn’t about luck or a secret family recipe; it comes down to understanding a few key principles of ingredients mixing technique and baking temperature.
If you’re a beginner baker or someone who’s struggled with sunken gummy muffins in the past this guide will walk you through exactly what causes fluffiness (and what kills it).
You’ll learn the science behind leavening agents the right way to combine wet and dry ingredients without overmixing and the small tricks professional bakers use to get that perfect domed top.
By the end you’ll have everything you need to bake muffins that are consistently soft, airy and irresistible.
Here’s the “What Makes Muffins Fluffy? (The Science)”
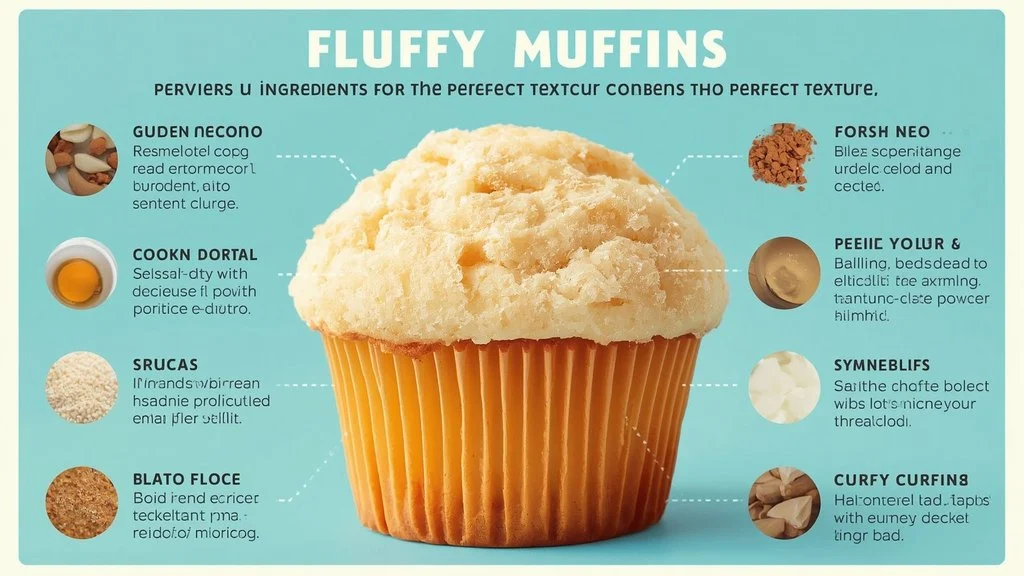
Fluffiness in muffins isn’t magic, it’s chemistry. The texture you get depends on how four key elements interact: gluten leavening fat and moisture.
Gluten forms when flour’s proteins come into contact with liquid and are agitated through mixing. A little gluten gives muffins structure but too much makes them tough and chewy instead of light. This is why muffin recipes warn against overmixing: every extra stir develops more gluten strands trapping the batter in a dense network that resists rising.
Leavening agents are the real lift-providers. Baking powder releases carbon dioxide gas when it meets liquid and heat creating tiny air pockets throughout the batter. Baking soda works similarly but needs an acidic ingredient (like buttermilk or yogurt) to activate. Many recipes use both together balancing pH while maximizing rise.
Fat usually butter or oil coats flour proteins and slows gluten formation which is why fat content directly affects tenderness. Butter also adds richness and structure as it melts while oil tends to produce a moister, sometimes fluffier crumb because it stays liquid at room temperature.
Finally moisture balance ties everything together. Too much liquid creates a gummy interior; too little leads to dryness. The right ratio keeps the batter thick enough to trap air bubbles from the leavening agents without collapsing before the muffin sets in the oven.
Here’s the “Essential Ingredients”
Getting fluffy muffins starts long before you preheat the oven. It starts with choosing the right ingredients.
Flour is your foundation. All-purpose flour works well for most recipes but cake flour with its lower protein content produces an even softer, more delicate crumb since it develops less gluten. If your muffins consistently turn out tough, swapping in cake flour (or a mix of the two) can make a noticeable difference.
Leaveners need to be fresh to work properly. Baking powder loses potency over time so if it’s been sitting in your pantry for over six months, test it in water before baking if it doesn’t fizz vigorously.
Fat shapes both texture and flavor. Butter contributes a rich taste and helps muffins hold their shape while oil keeps muffins moister for longer since it remains liquid at room temperature preventing the crumb from firming up as it cools.
Sugar does more than sweeten it tenderizes the crumb by interfering with gluten formation and helps muffins brown and retain moisture.
Eggs provide structure and richness. Room-temperature eggs blend more smoothly into batter than cold ones helping create a more even texture and better rise.
Liquid and dairy buttermilk yogurt or sour cream add moisture, tenderize through acidity and when paired with baking soda contribute to a lighter fluffier lift.
Here’s the “Tools You’ll Need”
Having the right tools on hand makes it easier to execute the techniques that create fluffy muffins and a few specific choices can noticeably affect your results.
Muffin tin type matters more than most people realize. Dark non-stick pans absorb more heat and can cause muffins to brown too quickly on the outside before the inside fully rises. Light-colored aluminum pans heat more evenly and are generally better for consistent results. If you only have a dark pan, consider lowering the oven temperature slightly to compensate.
Liners vs. greasing is largely a matter of preference but each has trade-offs. Paper liners make cleanup easy and prevent sticking while a well-greased pan (using butter or non-stick spray) can help muffins develop a slightly crispier more caramelized edge.
Mixing bowls and a whisk are essential for keeping wet and dry ingredients separate before combining a step that’s key to avoiding overmixing. A large bowl for dry ingredients and a medium bowl for wet ingredients keeps the process organized and fast.
An ice cream scoop or cookie scoop helps portion batter evenly between cups which ensures muffins bake at the same rate and rise uniformly no more lopsided batches.
An oven thermometer is a simple inexpensive tool that solves a common hidden problem: many home ovens run hotter or cooler than their displayed temperature which can throw off rise and texture even when your technique is perfect.
Here’s the “Step-by-Step Method”
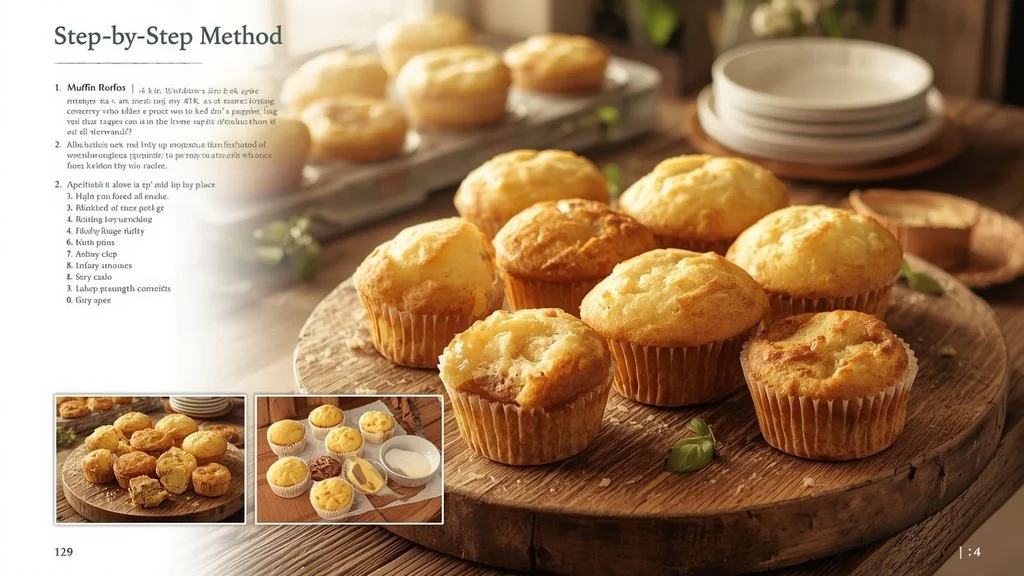
With ingredients and tools ready, execution comes down to following the right sequence and technique.
Prep the pan and preheat. Line or grease your muffin tin and let the oven fully preheat starting muffins in an oven that hasn’t reached temperature leads to uneven rising.
Mix dry ingredients separately. In a large bowl whisk together flour leavening agents salt and sugar until evenly distributed. This ensures the baking powder or soda is spread throughout the batter rather than clumped in one spot.
Mix wet ingredients separately. In another bowl whisk eggs melted butter or oil and your liquid/dairy component until smooth and well combined.
Combine using the muffin method. Pour the wet mixture into the dry ingredients and fold gently with a spatula not a whisk or electric mixer. Stop as soon as the flour disappears; a few lumps are completely fine and expected. This minimal mixing is what prevents excess gluten development.
Fill the muffin cups properly. Use your scoop to fill each cup about two-thirds full. Overfilling causes batter to spill over and bake unevenly while underfilling results in flat short muffins.
Following these steps in order keeping wet and dry separate until the final combination and stopping as soon as everything is just incorporated sets up everything covered in the next section: the specific pro techniques that push your muffins from “good” to genuinely fluffy.
Here’s the “Fluffiness Secrets/Pro Tips”
Once you’ve mastered the basic method these techniques are what separate homemade muffins from bakery-quality ones.
Start with high heat. Baking at a higher temperature (around 425°F) for the first 5 minutes then lowering to the recipe’s normal temperature creates a burst of steam and rapid leavening activity. This produces the tall domed tops bakeries are known for rather than flat ones.
Consider resting the batter. Letting muffin batter sit for 15–20 minutes before baking allows the flour to fully hydrate and gives leavening agents a head start which can result in a more even rise. This isn’t essential for every recipe but it’s worth testing if your muffins run dense.
Watch for the “just combined” stage. The biggest fluffiness killer is overmixing. Stop folding the batter the moment you no longer see streaks of dry flour. Visible lumps are fine and will smooth out during baking.
Use room-temperature ingredients. Cold eggs or dairy can cause melted butter to solidify in small clumps creating an uneven batter that bakes inconsistently. Room-temperature ingredients blend smoothly and incorporate air more effectively.
Combine baking powder and baking soda. Using both together rather than relying on just one balances the batter’s pH while maximizing lift especially in recipes with acidic ingredients like buttermilk or yogurt.
Here’s the “Common Mistakes and Fixes”
Even with good technique muffins can still go wrong. Here’s how to diagnose and fix the most common problems.
Dense or flat muffins. This is usually caused by overmixing (too much gluten development) or expired leavening agents that no longer produce enough lift. Fix it by mixing only until ingredients are just combined and always test baking powder’s freshness before using it in a batch.
Tunneling or holes inside. Long irregular tunnels running through the crumb are a telltale sign of overmixing the extra gluten strands that trap gas unevenly as it escapes. The fix is the same as above: fold gently and stop as soon as the flour disappears.
Dry crumbly muffins. This typically comes from overbaking too much flour (often from scooping directly from the bag instead of spooning it into a measuring cup) or not enough fat or liquid in the batter. Fixing your flour measuring technique and checking muffins a few minutes before the recipe’s suggested time can solve this.
Muffins sinking after baking. This usually happens when muffins are underbaked and pulled out before the structure has fully set or when too much leavening agent was used causing the batter to rise too fast and then collapse. Test doneness with a toothpick should come out clean or with just a few moist crumbs not wet batter.
Here’s the “Flavor Variations”

Once you’ve nailed the fluffy base recipe it’s easy to customize muffins with different flavors and mix-ins as long as you account for how they affect texture.
Blueberry muffins. Toss fresh or frozen blueberries in a tablespoon of flour before folding them into the batter. This coating prevents the berries from sinking to the bottom during baking and keeps excess moisture from making the crumb soggy.
Chocolate chip muffins. Fold in chocolate chips at the very end using minimal stirring to avoid overmixing. For extra flavor without weighing down the batter, mini chocolate chips distribute more evenly than standard-sized ones.
Banana muffins. Since mashed banana adds significant moisture, slightly reduce the other liquid ingredients in your recipe to maintain the right batter consistency. Overripe bananas also add natural sweetness so you can reduce added sugar slightly as well.
Nut and streusel toppings. Chopped nuts or a crumb topping added before baking add texture contrast without affecting the muffin’s internal fluffiness since they sit on top rather than being mixed into the batter.
Spiced or citrus variations. Adding spices (cinnamon nutmeg) or citrus zest works well because they don’t add extra liquid or gluten-forming agents; they simply fold them in with the dry ingredients for even distribution.
The key principle across all variations: add mix-ins at the last possible moment and adjust for any extra moisture or weight they bring so the core fluffy texture isn’t compromised.
Here’s the “Storage and Freshness”
Even perfectly fluffy muffins can go stale or dry out quickly if stored incorrectly. Proper storage is just as important as the baking process itself.
Cooling before storing. Always let muffins cool completely on a wire rack before storing them. Trapping warm muffins in a container creates condensation which makes them soggy on top and can promote mold growth faster.
Room temperature storage. For muffins you’ll eat within 2–3 days store them in an airtight container at room temperature. Lining the container with a paper towel on the bottom and top helps absorb excess moisture and keeps the tops from getting sticky.
Refrigeration (use with caution). While refrigerating can extend freshness by a day or two it often accelerates staling and can dry out the crumb faster than room temperature storage so it’s generally not recommended unless your kitchen is very warm and humid.
Freezing for longer storage. Muffins freeze exceptionally well for up to 3 months. Wrap each muffin individually in plastic wrap then place them in a freezer bag or airtight container to prevent freezer burn and protect texture.
Reheating tips. To restore that fresh-baked fluffiness, microwave a muffin for 15–20 seconds or warm it in a 300°F oven for about 5–10 minutes if reheating from frozen. Avoid over-microwaving as it can make muffins rubbery instead of soft.
FAQ
Can I use oil instead of butter?
Yes oil actually tends to produce a moister, sometimes fluffier muffin because it stays liquid at room temperature unlike butter which solidifies as it cools. If a recipe calls for butter but you only have oil substitute in roughly equal amounts keeping in mind you’ll lose a bit of the rich buttery flavor in exchange for a softer crumb over time.
Why did my muffins not rise?
This is almost always caused by one of three things: expired or inactive leavening agents overmixing the batter (which deflates the air pockets needed for lift) or an oven that isn’t actually reaching the temperature it’s set to. Test your baking powder’s freshness mix only until just combined and consider using an oven thermometer to confirm accuracy.
Can I make the batter ahead of time?
Yes, with some caveats. Muffin batter can be mixed and refrigerated for up to 24 hours before baking which can even improve texture by allowing the flour to hydrate fully. However, batters made with baking soda (rather than baking powder) lose potency faster once the acid-base reaction begins so they’re best baked as soon as possible after mixing rather than stored overnight.
Can I fix muffins after they’re baked if they turn out dense?
Not really density is a mixing or ingredient issue that needs to be corrected before baking. However, toasting a slice of a dense muffin and adding butter can make it more enjoyable as a next-day treat.
Conclusion
Making consistently fluffy muffins isn’t about finding a magic recipe, it’s about understanding the handful of principles that control texture every single time you bake.
From choosing the right balance of flour fat and leavening agents to using room-temperature ingredients and stopping the mix the moment everything is just combined, each step plays a specific role in building that light airy crumb you’re after.
The techniques covered in this guide, the high-heat start for taller domes resting the batter for better hydration and properly diagnosing common problems like tunneling or sinking aren’t complicated but they do require a bit of attention and practice.
The good news is that once you understand why these techniques work you’ll be able to apply them to virtually any muffin recipe, not just one specific formula.