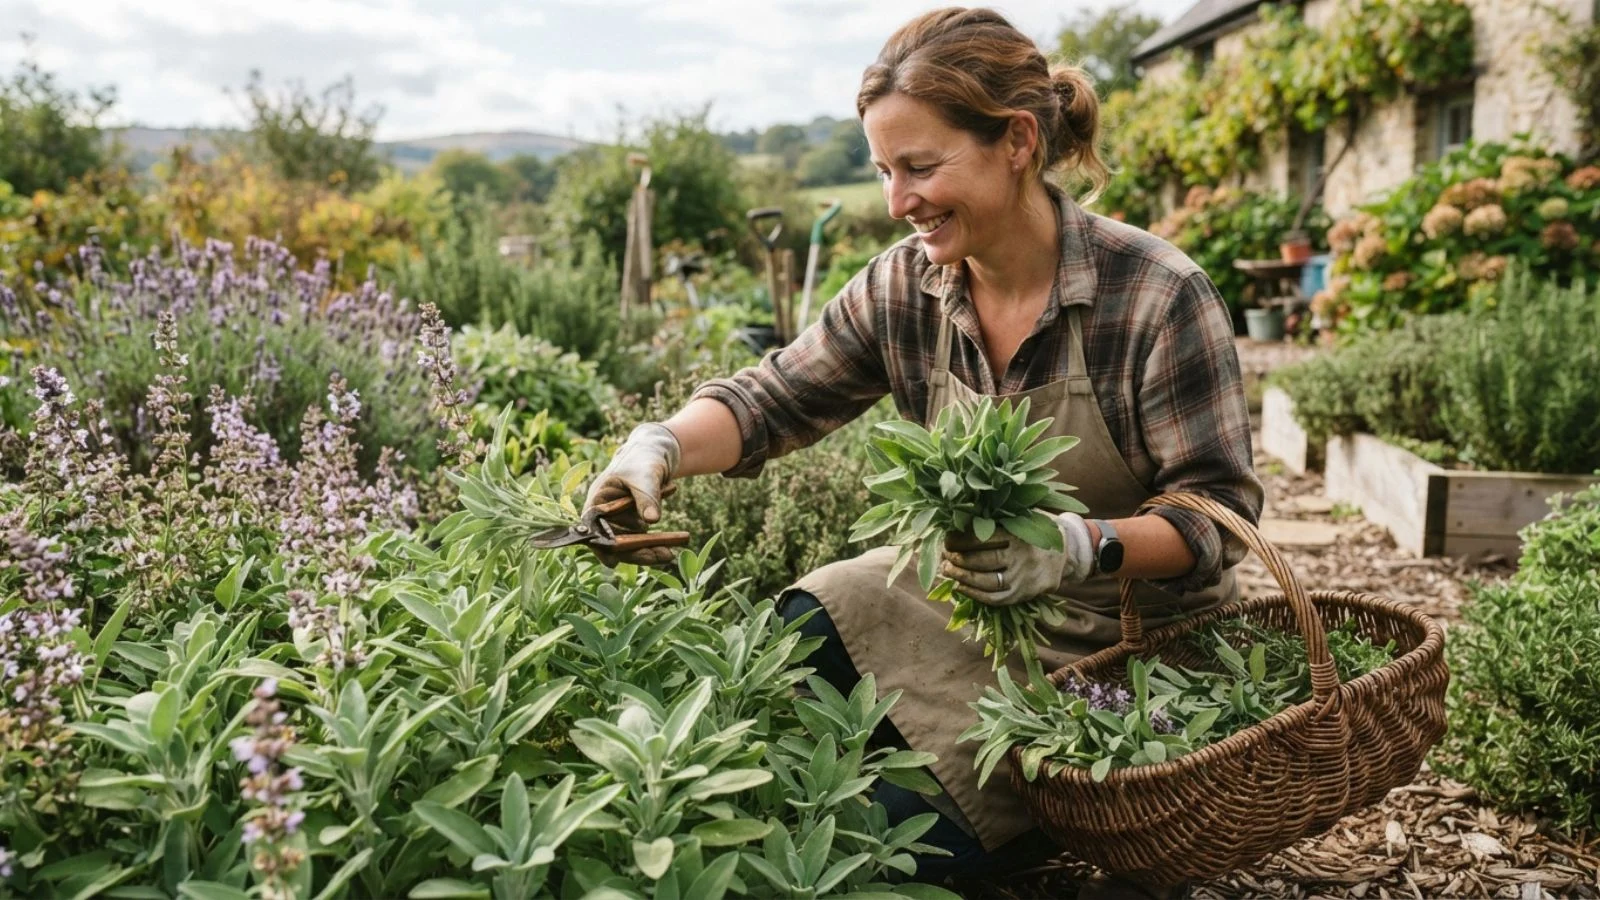
Few herbs reward a gardener quite like sage with its soft silvery-green leaves and unmistakable earthy aroma, sage (Salvia officinalis) has been prizes for centuries tucked into stuffing steeped into teas and burned in bundles for its cleansing scent.
But there’s a difference between simply picking a few leaves off the plant and harvesting sage the right way.
Done well harvesting encourages your plant to grow fuller and healthier season after season. Done poorly, cutting too much too often or at the wrong time can weaken the plant, dull its flavor or leave it struggling to recover.
This guide walks through everything you need to know when to harvest for peak flavour, the proper cutting technique, how to dry and store your leaves and the mistakes that trip up even experienced growers.
If you’re growing culinary sage or white sage for ceremonial use you’ll find the details here.
Understanding Your Sage Plant
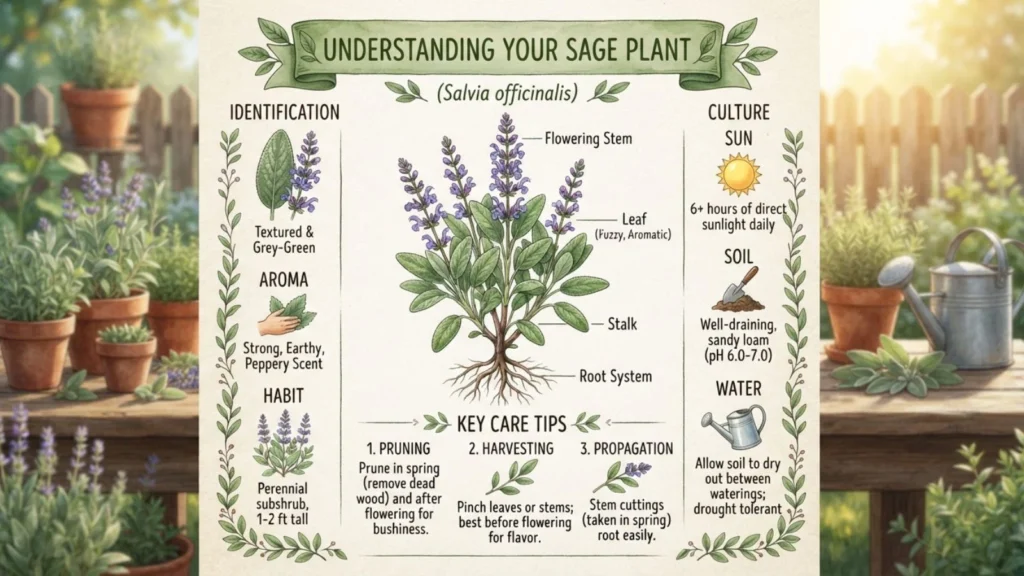
Before you make a single cut it helps to know what you’re actually working with. “Sage” isn’t one single plant, it’s a family of related species each with its own growth habit and best use.
Common (garden) sage Salvia officinalis is the classic culinary variety: soft fuzzy gray-green leaves and a strong savory aroma. This is the sage most home cooks and gardeners grow. Within this species you’ll also find ornamental cultivars like purple sage (deep violet-tinged leaves) , tricolor sage (cream pink and green variegation) and golden sage, all still edible with slightly milder flavor. Pineapple sage, a different species entirely, is grown more for its fruity scent and bright red flowers than for cooking. White sage (Salvia apiana) is a separate plant native to the southwestern U.S. traditionally used for smudging and ceremonial purposes rather than in the kitchen.
Growth habits matter too. Sage is a woody perennial shrub meaning it develops a permanent semi-hard structure at its base over time with soft green new growth appearing each season. This distinction is important: new growth is what you’ll be harvesting from while woody stems should generally be left alone.
A plant is generally ready for real harvesting once it’s established, usually with multiple branching stems, a full bushy shape and healthy leaf color typically by its second growing season.
When to Harvest
Timing affects both the flavor and the long-term health of your sage plant so it’s worth being deliberate about it.
Time of year: The best flavor comes just before the plant flowers when essential oil concentration in the leaves is at its peak. For most gardeners this falls in late spring to early summer. A second larger harvest can happen in early fall before the plant goes dormant for winter. This is often called the “big harvest” since it’s your last real opportunity before cold weather slows growth.
Time of day: Harvest in the morning after any dew has dried but before the heat of the day sets in. Oils are most concentrated in the cooler morning hours and leaves are less likely to wilt during cutting.
Plant age matters: In a sage plant’s first year go easy, light occasional harvesting only to let the plant establish strong roots and a full structure. From the second year onward the plant can handle more frequent and substantial harvesting.
Reading the plant itself: Look for healthy vibrant leaf color, multiple sturdy stems and a generally bushy shape rather than a few spindly branches. A plant that’s flowering can still be harvested but the flavor will be noticeably milder and slightly more bitter than pre-flower leaves.
Tools and Preparation

Harvesting sage doesn’t require much equipment but using the right tools and using them properly makes a real difference for both the plant’s health and the quality of what you collect.
Scissors or pruning shears: A small pair of sharp garden scissors or snips is ideal for most sage harvesting. Sharp blades matter: a clean cut heals faster and reduces the plant’s exposure to disease while a ragged torn cut (from dull blades or pinching with fingers) can stress the stem and invite rot or fungal issues.
Sanitizing your tools: Wipe blades with rubbing alcohol or a diluted bleach solution before harvesting especially if you’ve recently used them on other plants. This simple step helps prevent spreading disease between plants in your garden.
A basket or shallow container: Something open and breathable like a basket or wide bowl is better than a sealed bag. Sage leaves bruise easily and can start sweating (trapping moisture) if piled into an airtight container right after cutting which speeds up wilting and can encourage mold later.
Gloves (optional): Not necessary for common culinary sage but many people harvesting white sage for ceremonial use choose to wear gloves out of respect for the plant and tradition or simply to keep hands clean from the sticky resinous residue white sage leaves can leave behind.
Step-by-Step Harvesting Technique
With clean tools in hand harvesting itself is straightforward but a few details make the difference between a cut that helps your plant and one that hurts it.
Choose the right stems. Look for healthy green non-woody growth. This is where new leaves are actively forming and where the plant will regenerate most easily. Avoid cutting into thick brown woody stems near the base as these regenerate slowly if at all.
Follow the one-third rule. Never remove more than about a third of the plant’s total growth in a single harvest. Taking more than this can shock the plant, slow its recovery and reduce future yields.
Cut at the right spot. Snip stems just above a leaf node or pair of leaves (the point where leaves attach to the stem) rather than in the middle of the bare stem. Cutting here encourages the plant to branch out at that point producing bushier fuller growth rather than a single long stem.
Angle your cut slightly rather than straight across this small step helps water run off the cut surface instead of pooling which can reduce rot risk.
Individual leaves vs. whole stems: For a small amount needed right away simply pinch or snip a few leaves. For drying or larger batches cut whole stems 4–6 inches long which are easier to bundle and hang.
Special Case: Harvesting White Sage (Ceremonial Use)
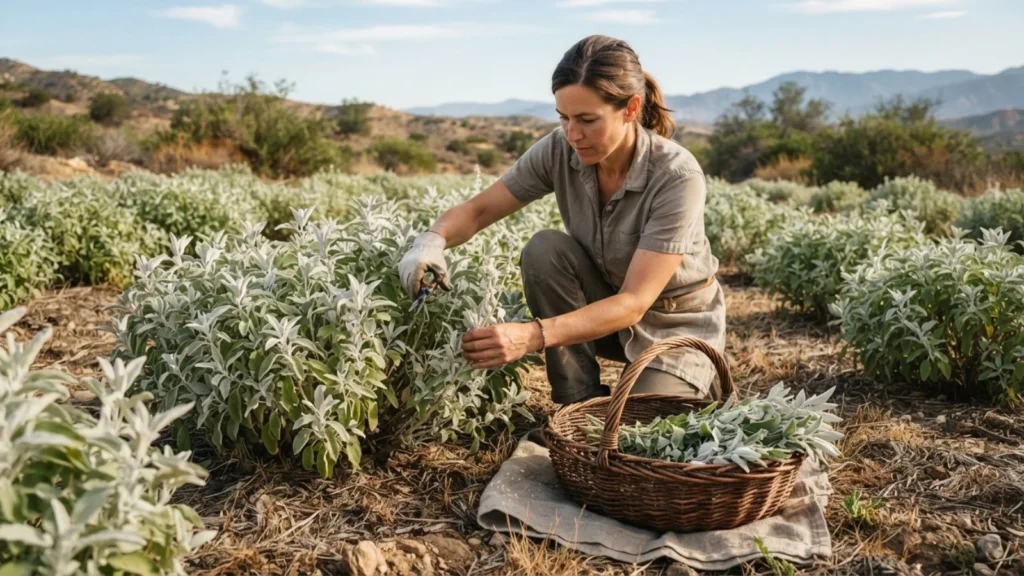
White sage (Salvia apiana) deserves its own section because it comes with concerns that culinary sage doesn’t, namely sustainability and cultural respect.
The overharvesting problem: White sage is native to a relatively narrow range in the southwestern United States and northern Mexico. Its popularity as a smudging herb has surged in recent years leading to widespread wild harvesting, sometimes illegal on public and protected lands. This has put real pressure on wild populations disrupting local ecosystems and the plant’s natural regeneration.
Choose cultivated over wild-harvested. The most responsible way to obtain white sage is to grow it yourself or buy from growers who cultivate it intentionally rather than purchasing wild-harvested bundles of uncertain origin. If you do forage only do so on land where it’s explicitly permitted and never take from small or struggling patches.
Cultural context matters. White sage holds deep significance in the spiritual and cultural practices of Indigenous peoples of the Americas particularly for smudging and cleansing rituals. Many advocate for using the plant thoughtfully and sourcing it in ways that don’t strip it from the communities and lands it’s traditionally tied to.
Harvesting technique if growing your own: The same core principles apply as with culinary sage cuts sparingly: take no more than a third of the plant, use clean tools and avoid woody stems. Because the leaves are more resinous expect a stickier residue on tools and hands.
Post-Harvest Handling
Once you’ve cut your sage what happens in the next few hours and days determines whether you end up with fragrant potent leaves or a moldy flavorless disappointment.
Rinse gently if needed. If your leaves are dusty or you’re concerned about garden debris rinse them briefly under cool water and pat dry with a towel. Avoid soaking which can bruise leaves and wash away surface oils.
Air-drying (the traditional method): Gather stems into small bundles secure with string or a rubber band and hang upside down in a warm dry well-ventilated space out of direct sunlight. This typically takes one to two weeks depending on humidity.
Dehydrator: For faster more controlled drying spread leaves in a single layer on dehydrator trays at a low setting (around 95–115°F) for a few hours checking periodically.
Oven-drying: Spread leaves on a baking sheet and use your oven’s lowest setting door slightly ajar, checking every 15–20 minutes to prevent scorching.
Knowing when it’s done: Properly dried sage crumbles easily between your fingers and shows no bendiness or moisture at all. Any lingering flexibility means it needs more time.
Storage: Store dried leaves whole (not crumbled) in an airtight container away from light and heat to preserve flavor crumble just before use. Properly stored dried sage keeps its potency for about a year.
Freezing fresh sage: Chop leaves and freeze in ice cube trays with a little water or olive oil for convenient ready-to-use portions.
Encouraging Plant Regrowth After Harvest
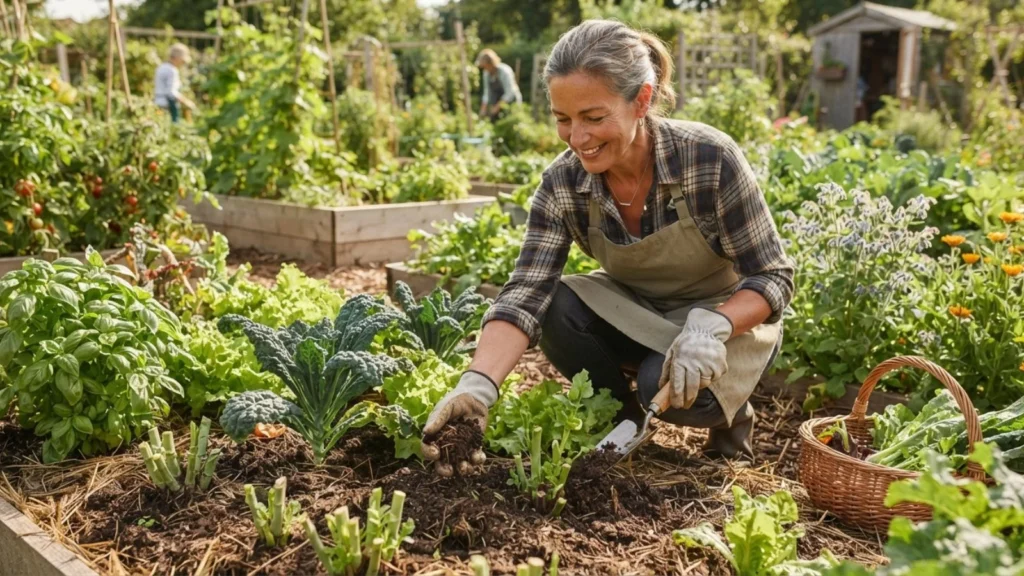
Good harvesting doesn’t stop when you put the scissors down. How you treat the plant afterward shapes how well it bounces back and how it performs next season.
Water and light care post-harvest. After a substantial harvest give your sage a light watering if the soil is dry and make sure it’s still getting adequate sunlight (sage generally prefers 6+ hours of full sun daily). Avoid heavy fertilizing right after cutting sage is a plant that actually performs best in relatively lean soil and over-fertilizing can lead to leggy weak growth rather than the compact bushy form you want.
Pruning for shape. Beyond simply harvesting leaves, an occasional light pruning of the plant’s overall shape trimming back any stems that are growing awkwardly long or falling open in the middle helps maintain a fuller, more compact form and encourages even growth across the whole plant.
The final fall harvest and winter prep. Your last harvest of the season should happen several weeks before the first expected frost giving the plant time to recover slightly before dormancy. After this final cut, resist the urge to prune further; let the plant rest through winter with its remaining growth intact which helps protect the woody base from cold damage.
Preventing woodiness over time. Sage plants naturally become woodier and less productive after three to five years. Regular moderate harvesting actually helps delay this by consistently encouraging fresh green growth rather than letting the plant grow unchecked.
Common Mistakes to Avoid
Even well-intentioned gardeners run into the same handful of harvesting pitfalls. Knowing them ahead of time can save your plant a lot of unnecessary stress.
Harvesting too much too fast. The single most common mistake is taking more than a third of the plant in one go, especially from a young or newly established plant. This can shock the root system, slow regrowth dramatically and in severe cases kill the plant outright.
Harvesting after flowering. Once sage flowers the plant redirects its energy toward seed production and leaf flavor becomes noticeably milder, sometimes slightly bitter. While still usable leaves harvested post-flowering won’t have the same punch as those cut just before blooming.
Cutting into woody stems. Old brown woody growth regenerates far more slowly than soft green growth and sometimes not at all. Repeatedly cutting into this older wood rather than sticking to new growth can leave the plant looking sparse and struggling for seasons afterward.
Harvesting late in the day or after rain. Leaves harvested in the afternoon heat or while still wet from rain or dew tend to wilt faster and contain lower concentrations of essential oils.
Improper drying leading to mold. Bundling leaves too tightly drying in a humid space or storing before they’re fully dry are the most common causes of moldy unusable sage. Always confirm leaves crumble easily before storing.
Using dull or dirty tools. Ragged cuts from dull blades or introducing disease from unsanitized tools can compromise plant health.
Using Your Harvested Sage
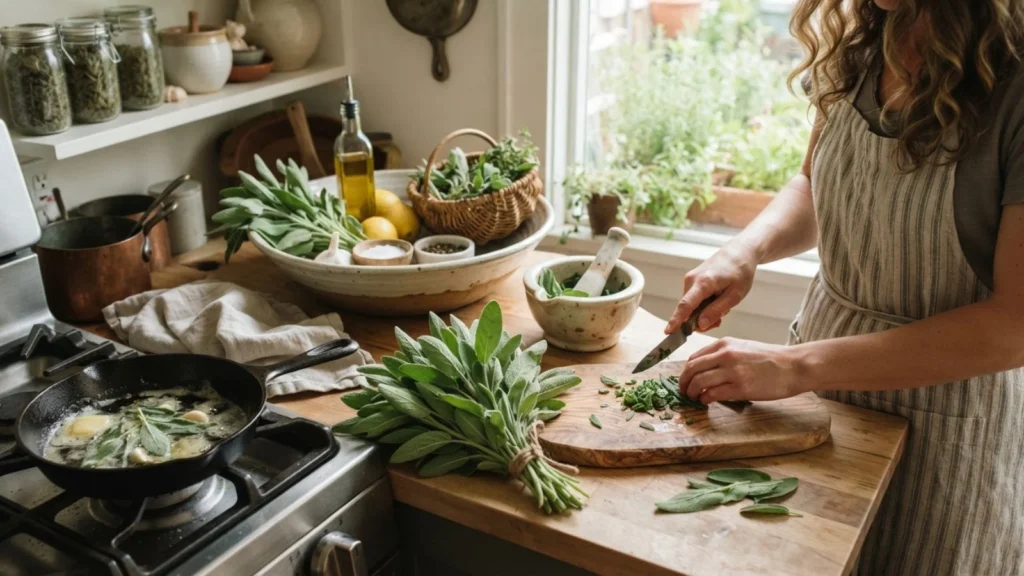
Once your sage is harvested and properly dried (or ready fresh) it’s time to actually put it to use. Here’s a quick look at the main ways people use this versatile herb.
Culinary uses. Sage is a staple in savory cooking prized for its earthy slightly peppery flavor. It pairs particularly well with rich fatty foods, think butter-sage sauce over pasta sage-infused stuffing roasted poultry or brown butter drizzled over squash. Fresh leaves offer a brighter, slightly milder flavor while dried sage is more concentrated and works well in slow-cooked dishes like soups, stews and sausages. A little goes a long way since the flavor can turn bitter or overpowering in excess.
Medicinal and herbal tea uses. Sage has a long history in herbal traditions most commonly brewed as a tea using fresh or dried leaves steeped in hot water. It’s often associated with soothing sore throats and supporting digestion and some people use it as a gargle. As with any herbal remedy it’s worth approaching with reasonable caution and consulting a healthcare provider if you’re pregnant on medication or have underlying health conditions.
Ceremonial and smudging uses. White sage in particular is burned in bundles known as smudge sticks as part of cleansing and purification rituals in various Indigenous traditions. If you use sage this way, sourcing sustainably grown (rather than wild-harvested) sage helps ensure the practice remains respectful and doesn’t further strain wild populations.
Conclusion
Harvesting sage well comes down to a handful of simple but important principles: cut from healthy green growth rather than woody stems.
Never take more than a third of the plant at once; time your harvest for morning hours just before flowering; and give the plant proper care and rest afterward so it can keep thriving season after season.
It’s a small amount of extra care compared to simply grabbing a handful of leaves whenever you need them but that care pays off.
A thoughtfully harvested sage plant rewards you with fuller growth, better flavor and years of productive life rather than a sparse woody shrub struggling to recover from overcutting.
Beyond the plant itself, how you handle sage after cutting matters just as much proper drying and storage preserve the essential oils that give sage its signature aroma and flavor ensuring that the effort you put into harvesting doesn’t go to waste on the back end.
And for those using white sage for ceremonial purposes sourcing responsibly ensures the practice remains sustainable and respectful for the long term.