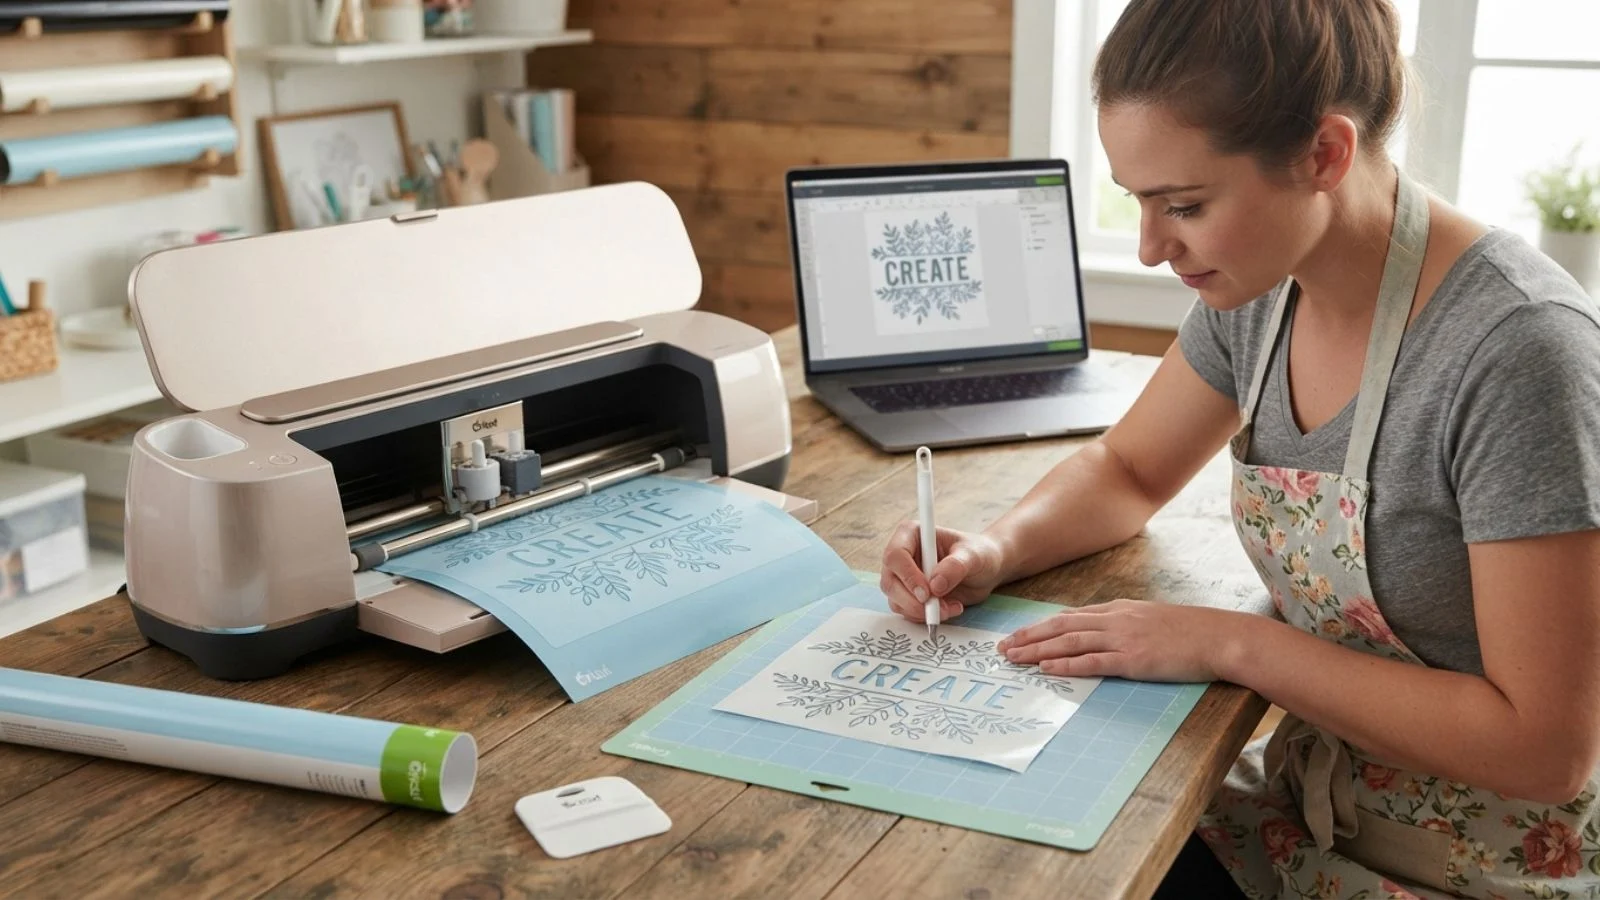
If you’ve ever admired professionally painted signs, custom wall art, or perfectly lettered tote bags and wondered how crafters get those crisp, clean edges, the answer is often a stencil and your Cricut machine makes creating one easier than you’d think.
Instead of hand-cutting shapes with an X-Acto knife (and risking wobbly lines or slipped fingers), your Cricut can precisely cut intricate designs, letters, and patterns from stencil material in minutes.
If you’re personalising a wooden sign, adding a design to a t-shirt, painting a mural on your wall, or decorating a tumbler, a Cricut-cut stencil gives you professional, repeatable results every time.
In this guide, we’ll walk through everything you need to know: choosing the right materials, designing a stencil-friendly image, cutting and weeding it correctly, applying it to your project, and troubleshooting common issues so your next stencil project turns out exactly as you envisioned.
Materials & Tools Needed
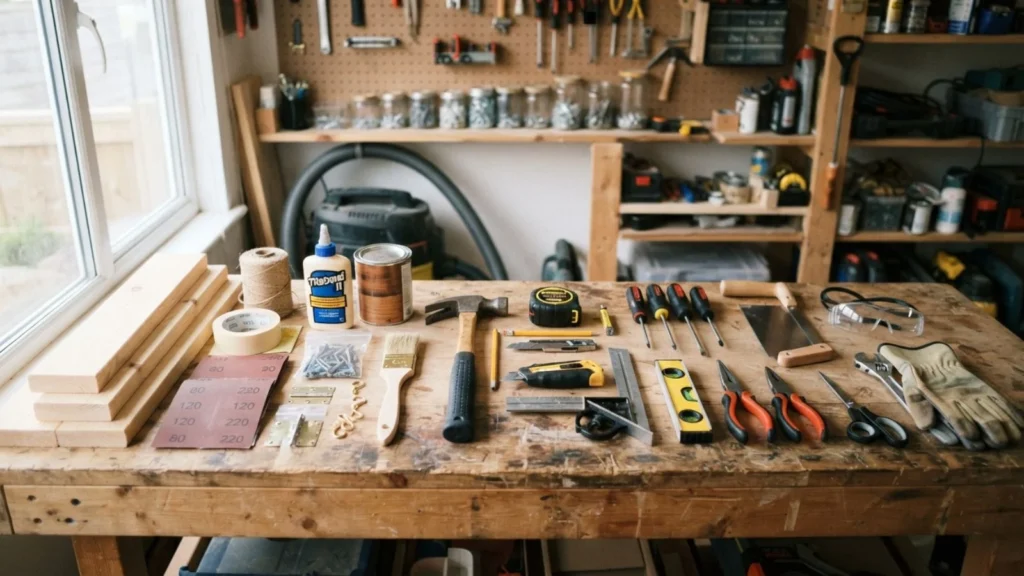
Before you start, gather these supplies to make the process smooth from start to finish.
Cricut Machine: Any Cricut model works for stencil-making, the Cricut Joy for small, simple designs, and the Explore Air 2 or Maker for larger or more intricate projects. The Maker’s rotary and knife blades also open up options for thicker stencil materials.
Stencil Material: You have a few choices here. Cricut’s own stencil vinyl or stencil blanks are designed specifically for this purpose and hold up well to multiple paint applications. Adhesive vinyl can also work for one-time or lighter-use stencils, though it’s less durable than true stencil material.
Cutting Mat: A StandardGrip mat works for most vinyl and stencil material, though StrongGrip may be needed for thicker or stiffer sheets.
Weeding Tools: A weeding hook or fine-tipped tool is essential for removing small cut pieces, especially on detailed designs with tiny letters or intricate patterns.
Transfer Tape: Useful for repositioning your stencil cleanly onto your project surface without stretching or misaligning it.
Optional Extras:
- Painter’s tape, to hold edges flat and prevent paint bleed
- Repositionable spray adhesive, especially helpful on uneven or textured surfaces like wood or fabric
- A squeegee or scraper, for smoothing the stencil down and removing air bubbles
Having these on hand before you start means fewer interruptions once you’re ready to cut, weed, and apply your stencil.
Choosing or Designing Your Stencil Image
The design you choose has a big impact on how well your stencil turns out, so it’s worth thinking through a few things before you hit the cut.
Where to Find Designs: Cricut Design Space has a built-in library of ready-to-use images, many available through Cricut Access. You can also upload your own SVG files, or convert a JPEG or PNG into a cuttable image using Design Space’s upload tool. Free stencil-friendly SVGs are also widely available from independent design sites.
What Makes a Good Stencil Design: Not every image translates well into a stencil. Designs with “floating” elements like the center of a letter O or A, or a disconnected shape inside a larger one need small connector pieces called bridges to hold everything together once cut. Without them, the middle of your letters or shapes will simply fall out. Look for designs that are already stencil-ready, or plan to add bridges yourself during setup.
Simplifying Complex Images: Highly detailed designs with fine lines or tiny gaps can be difficult to cut cleanly and even harder to weed. If you’re new to stencil-making, start with bolder, simpler shapes and save intricate designs for once you’re comfortable with the process.
Sizing Considerations: Think about where the stencil will be used. A design sized for a tumbler will look very different scaled up for a wall or wood sign, so resize your image in Design Space to match your project surface before cutting.
Setting Up the Project in Design Space
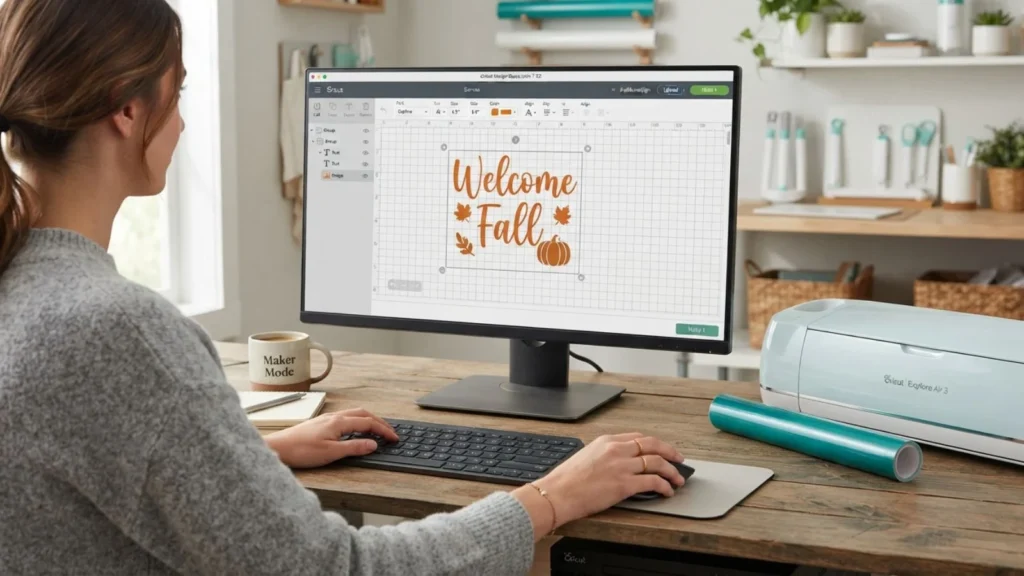
Once you’ve chosen your image, a bit of prep work in Design Space ensures your stencil cuts cleanly and holds together.
Adding Bridges: If your design includes letters or shapes with enclosed centers, this is the step where you add bridges with small connecting strips that keep the inner pieces attached to the outer stencil. You can draw these manually using the shape tools, placing thin rectangles across open areas like the middle of an “O” or “A,” then welding them to your design. Many pre-made stencil fonts and images already include bridges built in, so check before adding your own.
Attaching Layers: If your project has multiple elements that need to stay in the same position relative to each other, use the Attach tool so Design Space cuts them in place rather than rearranging them on the mat.
Mirroring: Mirroring isn’t always necessary for stencils, but if you’re using a material that cuts better from the back, or working with iron-on adjacent products, check your material’s instructions to see if this step applies.
Selecting Material Settings: Choose the correct material setting in Design Space to match what you’re cutting Cricut has dedicated settings for stencil vinyl and stencil film, which adjust blade depth and cut pressure automatically. If you’re using a less common material, a manual pressure setting or test cut may give better results.
Cutting the Stencil
With your design set up and bridges in place, it’s time to load your material and let your Cricut do the precision work.
Loading the Mat: Place your stencil material firmly on your cutting mat, smoothing out any air bubbles or wrinkles so it lies flat. Make sure it’s positioned within the cut area and firmly adhered to the mat’s edges, since stencil material can be prone to shifting if it’s not secured well.
Choosing the Right Blade: A fine-point blade works well for most stencil vinyl and thinner stencil film. If you’re cutting thicker stencil blanks or plastic-style material, a deep-point blade available for Explore and Maker machines will give you a cleaner cut without tearing.
Cut Settings: Select the material setting that matches what you’re using. Cricut’s dedicated “Stencil Vinyl” or “Stencil Film” settings are calibrated for the right blade depth and pressure. If your material isn’t listed, start with a similar preset (like vinyl or cardstock) and adjust pressure manually if needed.
Test Cut First: Before committing to your full design, especially on a new or pricier material, run a small test cut. This lets you check that the blade is cutting all the way through without going so deep that it damages the mat, and helps you catch any settings issues early.
Weeding the Stencil
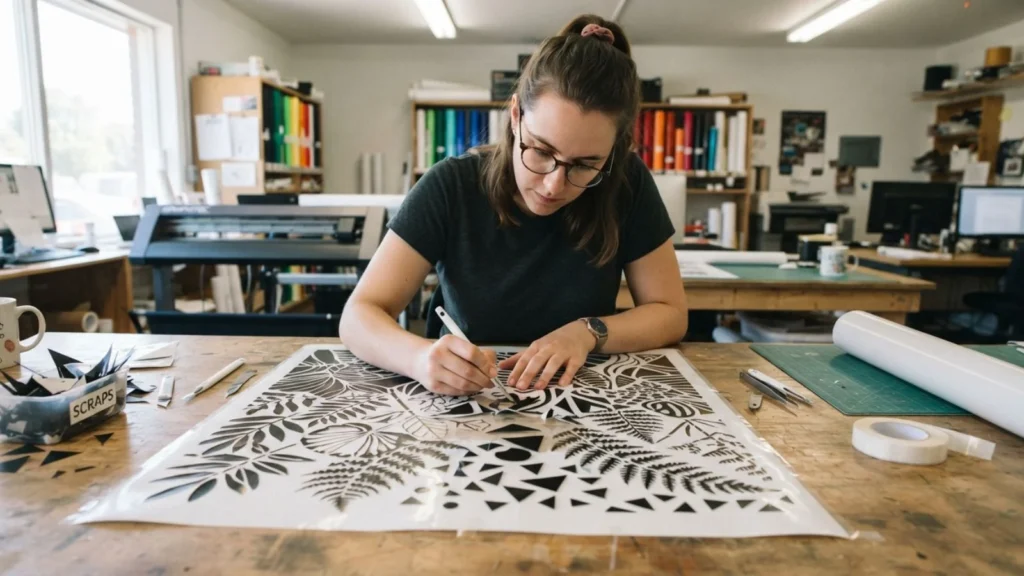
Weeding removes the excess material so only your design remains is where stencils really come together, but it’s also where mistakes are easiest to make if you rush.
Tools for the Job: A weeding hook or fine-tipped weeding tool gives you the control needed to lift out small pieces without tearing the surrounding material. A basic craft knife can help with larger sections, but stick to a proper weeding tool for detailed areas.
Weeding Order: Work from the inside of the design outward. Start with the smallest, most delicate interior pieces like the centers of letters before moving to larger surrounding sections. This reduces the risk of accidentally pulling up a piece that should stay attached.
Handling Small or Intricate Pieces: Fine details, thin lines, and small letters require patience. Go slowly, and use good lighting to see exactly where each cut line is. If a piece is especially delicate, gently score around it with the tip of your tool before lifting.
Common Mistakes to Avoid:
- Pulling pieces too quickly, which can tear connected bridges
- Weeding in the wrong order and losing small interior pieces
- Using a dull or damaged weeding tool, which makes clean removal harder
- Forcing stuck material instead of gently working it loose with the tip of your tool
Take your time here. A well-weeded stencil is the foundation for crisp, professional-looking results once you start painting.
Applying the Stencil
Getting your stencil positioned and secured properly is what separates crisp, clean designs from smudged or bled paint lines.
Using Transfer Tape: If your stencil material is prone to curling or hard to reposition once placed, transfer tape can help the weeded stencil, burnish it down, then peel the stencil backing away and apply the whole piece to your surface as one unit before removing the transfer tape.
Positioning and Securing: Take a moment to measure and position your stencil exactly where you want it before pressing it dow it’s much easier to adjust now than after paint has been applied. For flat surfaces, painter’s tape around the edges helps hold everything in place and creates an extra barrier against bleed. For uneven or textured surfaces like wood grain or fabric, a light coat of repositionable spray adhesive on the back of the stencil helps it hug the surface and seals the edges more effectively.
Burnishing the Edges: Use a scraper, old gift card, or squeegee to firmly press down every edge and detail of the stencil, especially around small cutouts. Any gaps or lifted edges are where paint is most likely to seep underneath.
Tips for Curved or Textured Surfaces: For tumblers, curved signs, or textured walls, work in small sections, pressing and smoothing as you go rather than trying to apply the whole stencil at once. Flexible stencil material makes this process easier on rounded surfaces.
Painting Through the Stencil
This is the step where your design comes to life but technique matters more than most people expect, since too much paint is the number one cause of blurry or bled edges.
Choosing the Right Paint: Match your paint to your surface. Acrylic craft paint works well on wood and cardstock, fabric paint or fabric medium mixed with acrylic is best for shirts and totes, chalk-style or wall paint suits stenciled murals, and enamel or acrylic paint made for glass and ceramics works best on tumblers and jars.
Choosing an Applicator: A stencil brush, makeup sponge, or foam dauber all work well. Avoid saturating a regular paintbrush, since it holds too much paint and pushes liquid under the stencil edges.
The Dabbing Technique: Load a small amount of paint onto your applicator, then blot most of it off onto a paper towel before applying. Use an up-and-down dabbing motion rather than brushing side to side; this keeps paint from being pushed under the stencil’s edges.
Building Up Color: It’s better to apply two or three thin, light layers than one heavy coat. Thin layers dry faster, reduce bleeding, and give you more even, opaque coverage overall.
Letting Paint Set: Allow the paint to dry to the touch before removing the stencil, and if you’re doing multiple colors, let each one dry before moving to the next section to avoid smudging.
Removing and Cleaning Up

Once your paint has been applied, how you remove and care for your stencil affects both the final look of your project and whether you’ll be able to reuse it.
When to Remove the Stencil: Wait until the paint is dry to the touch, but don’t let it fully cure before peeling paint that’s completely hardened can sometimes crack or pull away unevenly at the stencil’s edges. Peel slowly and at a shallow angle, starting from one corner, to keep the painted lines crisp.
How to Peel: Lift gently rather than pulling straight up, especially around small or delicate cutout areas where dried paint can create a slight seal. If any section feels stuck, work it loose slowly rather than yanking, which can chip the paint or tear the stencil.
Cleaning Reusable Stencils: If you used a durable material like Cricut stencil vinyl or stencil blanks, rinse off any wet paint immediately with warm water and a soft cloth or sponge. For dried paint, a gentle scrub with soapy water usually works, though stubborn buildup may need a bit more soaking time. Avoid harsh scrubbing on delicate bridges and fine details.
Storing Your Stencil: Once clean and fully dry, lay your stencil flat or roll it loosely (avoid sharp folds, which can crack the material) and store it somewhere flat and dust-free. Labeling stencils by design name or project makes them easy to find and reuse later.
Troubleshooting Common Issues
Even with careful prep, stencil projects don’t always go perfectly the first time. Here’s how to fix the most common problems.
Paint Bleeding Under the Edges: This usually means too much paint was applied, or the stencil wasn’t burnished down tightly enough. Next time, use less paint on your applicator, dab rather than brush, and press every edge firmly before painting especially around small or intricate cutouts.
Stencil Tearing During Weeding or Removal: Tearing often happens when pieces are pulled too quickly or bridges are too thin to hold the design together. If it happens mid-project, small tears can sometimes be patched with a bit of painter’s tape on the back before continuing. For future cuts, widen your bridges slightly and weed more slowly.
Design Pieces Falling Apart (Missed Bridges): If a letter’s center or an enclosed shape falls out during weeding, it likely needed a bridge that wasn’t added in Design Space. Go back and add connector pieces to your digital file before cutting again, or hand-position the missing piece carefully if you’re finishing the current stencil.
Uneven Paint Coverage: Blotchy or inconsistent color usually comes from applying paint too thin in some spots and too thick in others. Build coverage gradually with several light, even layers rather than trying to achieve full opacity in one pass, and make sure your applicator has consistent paint distribution before each dab.
Creative Project Ideas / Inspiration

Once you’ve got the stenciling process down, the possibilities for using your Cricut-cut stencils are nearly endless. Here are some popular projects to try.
Wall Art and Murals: Create custom quotes, patterns, or accent walls using reusable stencil material. Large-scale designs can be cut in sections and pieced together for bigger statements.
Wood Signs: Personalized welcome signs, name plaques, or seasonal decor are one of the most popular uses for Cricut stencils, especially paired with a stained or painted wood background for contrast.
T-Shirts and Tote Bags: Fabric stencils combined with fabric paint or fabric medium let you create custom apparel, matching family shirts, or personalized gifts without needing iron-on vinyl.
Tumblers and Mugs: Curved-surface stencils work well for creating custom drinkware, especially when paired with enamel or glass paint and a light hand to avoid pooling.
Holiday and Seasonal Decor: Pumpkins, ornaments, banners, and seasonal wall hangings are easy, low-commitment projects that let you experiment with new techniques.
Reusable vs. One-Time Stencils: If you’re planning to use a design repeatedly like a logo, monogram, or recurring pattern invest in durable stencil vinyl or stencil blanks. For single-use projects, standard adhesive vinyl can save on materials without sacrificing quality.
Conclusion
Making a stencil with your Cricut is one of those skills that, once learned, opens up a huge range of creative possibilities.
From choosing the right stencil material and prepping your design with proper bridges, to cutting, weeding, applying, and painting with a light hand, each step plays a role in getting that clean, professional finish you’re after.
Like any new craft technique, your first stencil might not be perfect. You may deal with a bit of paint bleed, a tricky weeding session, or a bridge that needs to be a little wider.
That’s completely normal, and every attempt will teach you something that makes the next project easier.
The good news is that once you’ve got the basics down, the process becomes quick and repeatable, whether you’re making a one-time gift or a stencil you’ll reach for again and again.